Cake pops always look like something you’d find in a fancy bakery, but once you make them at home, you’ll realize how simple they actually are. They’re tiny, sweet, colorful, and fun to eat. Kids love them, elders enjoy them, and honestly… who doesn’t smile when they see a stick with a mini cake ball dipped in chocolate?
The good thing is, you don’t need to be a baking expert. This recipe is perfect for beginners, and once you try it, you’ll feel like a pro. Let’s dive in, step by step, without any complicated words or confusing instructions.

🎂 What Are Cake Pops Exactly?
Cake pops are basically crumbled cake mixed with frosting, shaped into small balls, placed on sticks, and then dipped into melted chocolate. Think of them as tiny pieces of cake that look like lollipops. They’re perfect for parties, birthdays, tea-time snacks, or just when you want something sweet but not too heavy.
✨ Why This Recipe Works for Everyone
This easy recipe is beginner-friendly. You don’t need a baking degree, fancy tools, or rare ingredients. You only need a cake (store-bought or homemade), frosting, chocolate, and sticks.
It also allows creativity. You can make them in any flavor, any color, and decorate them however you like. If you want to impress someone without stressing yourself out, cake pops are a lifesaver.
🛒 Ingredients You Need
You just need a few simple things:
- 1 baked cake (any flavor — vanilla, chocolate, red velvet… anything)
- ½ cup frosting (you can use buttercream, whipped frosting, or ready-made frosting)
- 2 cups chocolate or candy melts
- Cake pop sticks
- Sprinkles (optional)
- A little oil (if chocolate is too thick)
That’s it. No long list, no strange items.
🧁 Step 1: Bake the Cake or Buy One
If you want to keep things super easy, buy a ready-made cake from any bakery. Even a simple sponge cake works great.
If you prefer making it at home, just bake a basic cake using any boxed mix. No need to decorate or frost it because we’re going to crumble it anyway.
Let the cake cool completely before moving to the next step. Warm cake becomes mushy, and we don’t want that.
🖐️ Step 2: Crumble the Cake
Now comes the fun part.
Break the cake into pieces and start crumbling it with your hands. Make sure there are no big chunks left. It should feel like soft, fine crumbs — almost like sand but delicious.
Kids especially love this part. It’s messy, but that’s what makes it enjoyable.
🍥 Step 3: Add the Frosting
This is where the cake turns into a dough-like mixture.
Add a little frosting at a time and mix it through the crumbs. Use your hands so you can feel the texture. You don’t need too much frosting — just enough to help the crumbs stick together.
You should be able to pick up a small amount and roll it into a smooth ball that doesn’t crack.
If it feels too wet, add more cake crumbs.
If it feels too dry, add a tiny bit more frosting.
🎱 Step 4: Shape Into Balls
Roll the mixture into small balls. Try to keep them all the same size so they look neat.
A tablespoon-sized scoop works well. Place all the balls on a tray and let them chill in the fridge for 30 minutes. Chilling helps them hold their shape when you add the stick.
🍫 Step 5: Melt the Chocolate
Take your chocolate or candy melts and melt them in a microwave or on a double boiler. Keep stirring so it doesn’t burn.
If the chocolate is too thick, add 1 teaspoon of oil to thin it out. Smooth chocolate coats better and gives a nice shine.
Choose any color you like — white, pink, dark chocolate, blue, or rainbow candy melts.
🍡 Step 6: Insert the Sticks
Dip the tip of each stick into melted chocolate (just a little) and push it halfway into a cake ball.
This chocolate acts like glue and keeps the stick in place.
Put the tray back in the fridge for 10 minutes so the sticks set properly.
🎨 Step 7: Dip the Cake Pops
Now for the magic moment.
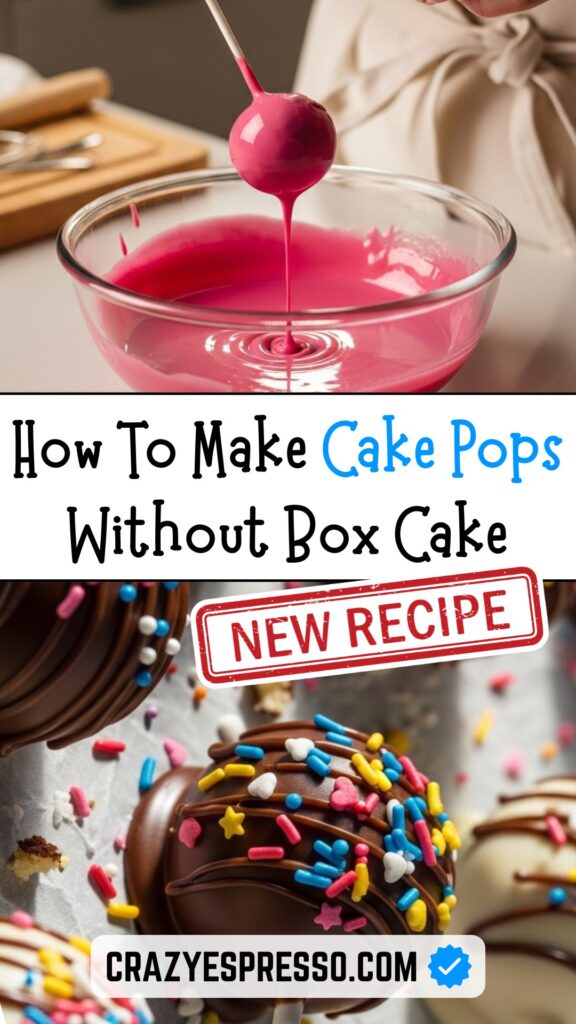
Hold each stick and gently dip the cake pop straight into the melted chocolate. Don’t swirl it too much — just dip, lift, and let the excess drip off.
Tap the stick lightly on the bowl’s edge to shake off extra chocolate.
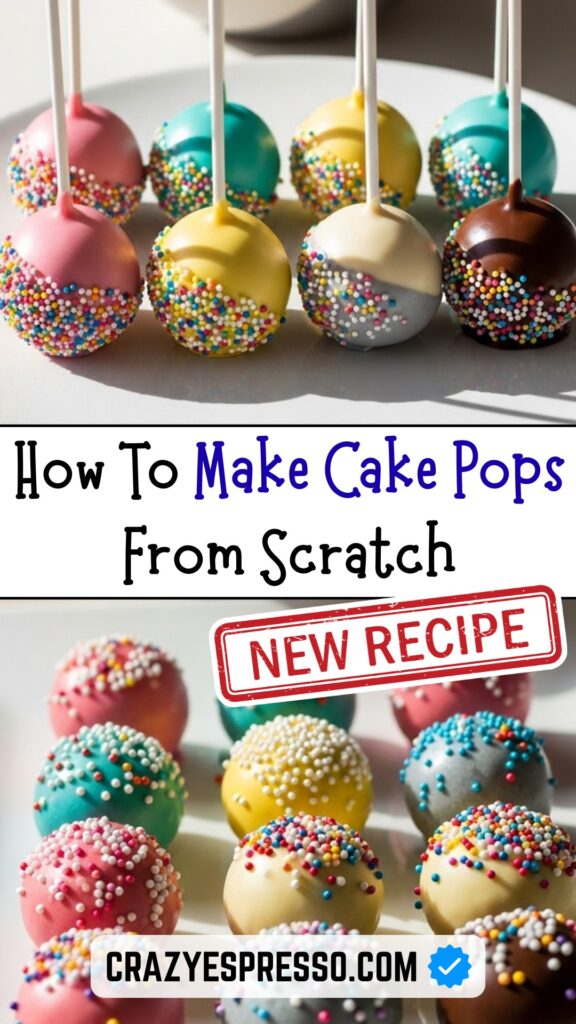
Set them upright in a foam block or stand so they dry nicely without touching anything.
✨ Step 8: Decorate
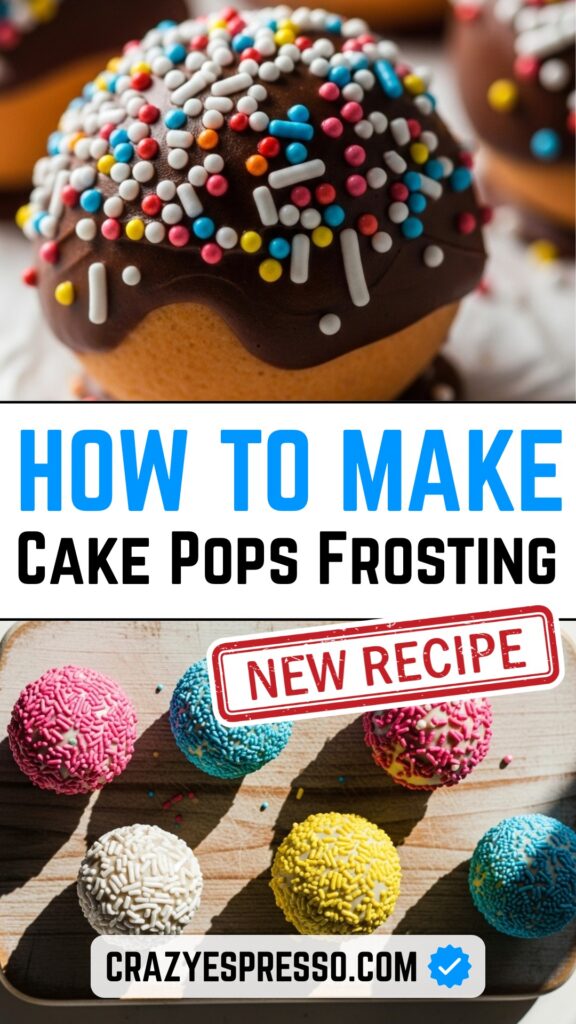
Before the chocolate hardens, sprinkle some decorations on top. You can use:
- Colorful sprinkles
- Mini chocolate chips
- Crushed biscuits
- Edible glitter
- Shaved coconut
If you want to draw lines or patterns, wait until the base coating sets, then drizzle another color over it.
This is where you can make them look super cute and creative.
⏳ Step 9: Let Them Set
Let the cake pops sit at room temperature or in the fridge until the chocolate is firm.
And that’s it — your cute, tasty, homemade cake pops are ready!
{ “@context”: “https://schema.org/”, “@type”: “Recipe”, “name”: “How to Make Cake Pops: Easy Recipe”, “description”: “A simple, beginner-friendly cake pops recipe made with crumbled cake, frosting, and melted chocolate. Perfect for parties and easy for anyone to make.”, “author”: { “@type”: “Person”, “name”: “Muhammad Arslan Yousaf” }, “datePublished”: “2025-11-14”, “prepTime”: “PT40M”, “cookTime”: “PT30M”, “totalTime”: “PT1H10M”, “keywords”: “cake pops, easy cake pops, homemade cake pops, simple cake pops recipe”, “recipeYield”: “20 cake pops”, “recipeCategory”: “Dessert”, “recipeCuisine”: “American”, “image”: “YOUR_IMAGE_URL_HERE”, “nutrition”: { “@type”: “NutritionInformation”, “calories”: “120 kcal” }, “recipeIngredient”: [ “1 baked cake (any flavor)”, “1/2 cup frosting”, “2 cups melted chocolate or candy melts”, “Cake pop sticks”, “Sprinkles for decoration”, “1 teaspoon oil (optional)” ], “recipeInstructions”: [ { “@type”: “HowToStep”, “text”: “Bake a cake or use a store-bought cake. Let it cool fully before crumbling.” }, { “@type”: “HowToStep”, “text”: “Crumble the cake into fine, smooth crumbs using your hands.” }, { “@type”: “HowToStep”, “text”: “Add frosting a little at a time and mix until it forms a dough-like texture.” }, { “@type”: “HowToStep”, “text”: “Roll the mixture into small, even-sized balls and place them on a tray.” }, { “@type”: “HowToStep”, “text”: “Chill the tray in the fridge for 30 minutes so the balls can firm up.” }, { “@type”: “HowToStep”, “text”: “Melt chocolate until smooth. If it’s thick, add 1 teaspoon oil.” }, { “@type”: “HowToStep”, “text”: “Dip each stick into melted chocolate and insert halfway into a cake ball.” }, { “@type”: “HowToStep”, “text”: “Dip each cake pop into melted chocolate, tap gently to remove excess, and let it set upright.” }, { “@type”: “HowToStep”, “text”: “Decorate with sprinkles before the coating dries. Chill until chocolate sets fully.” } ] }🥳 Tips for Perfect Cake Pops Every Time
Here are some helpful tips to avoid common mistakes:
⭐ Don’t use too much frosting
It makes the cake pops too soft and they fall apart.
⭐ Chill the cake balls
Otherwise they can slip off the stick.
⭐ Keep chocolate smooth
If it becomes thick, add a few drops of oil.
⭐ Don’t rush the dipping
Fast movements cause cracks or uneven coating.
⭐ Use a deep small bowl
This helps you dip smoothly without breaking the ball.
⭐ Let them dry upright
This keeps the round shape perfect.
🍰 Popular Cake Pop Flavors to Try
Once you master the basic recipe, try new flavors. Here are some ideas:
- Vanilla cake + strawberry frosting
- Chocolate cake + chocolate ganache
- Red velvet + cream cheese frosting
- Lemon cake + white chocolate
- Funfetti cake + vanilla frosting
- Coffee cake + mocha frosting
You can even add crushed biscuits, nuts, or a little cocoa powder for more flavor.
🎈 When to Serve Cake Pops
Cake pops fit every occasion. Here are some fun moments to serve them:
- Birthday parties
- School events
- Baby showers
- Eid gatherings
- Family get-togethers
- Tea time with guests
- Kids’ lunch treats
- Gift boxes
They’re easy to transport and don’t melt quickly, which makes them great for sharing.
🍭 How to Store Cake Pops
You can store finished cake pops in:
1. The fridge:
Keeps them firm for up to 1 week.
2. Room temperature (cool place):
3–4 days.
3. Freezer:
Up to 1–2 months. Just wrap them properly.
To thaw frozen ones, leave them at room temperature for 30 minutes.
🔥 Troubleshooting Guide
If something goes wrong, don’t worry. Here’s how to fix it:
Cake balls cracking:
Chocolate might be too hot. Let it cool for a minute.
Balls falling off the sticks:
They aren’t chilled enough, or the frosting is too much.
Chocolate coating looks rough:
Add a little oil to smooth it out.
Chocolate dripping too much:
Tap gently, not hard.
Ball sliding down the stick:
Push the stick only halfway — not too deep.
These small tricks help you get bakery-style results at home.
🍬 Fun Variations to Try
Cake pops don’t have to be just round. Try different shapes:
- Hearts
- Stars
- Mini cupcakes
- Ovals
- Baby animal shapes
You can also mix in different toppings:
- Crushed Oreos inside the cake dough
- Nutella swirl
- Melted caramel
- Peanut butter cream
There’s no limit to creativity.
👩🍳 Why Kids Love Making Cake Pops
If you want an activity to keep kids busy and happy, cake pops are perfect. They enjoy:
- Crumbling the cake
- Rolling the balls
- Dipping in chocolate
- Adding sprinkles
- Eating their creations
It’s a great weekend project for families. No sharp tools, no stove work (just basic melting), and plenty of fun.
💡 Extra Idea: Gift Box Cake Pops
If you ever need a quick gift, pack cake pops in a small decorated box. Add ribbons, tissue paper, and a handwritten note. People love receiving homemade treats, especially when they look this cute.
You can also wrap each pop in clear plastic and tie it with a tiny bow. It looks professional and thoughtful.
🌟 Final Thoughts
Cake pops may seem like a fancy dessert, but once you try this easy method, you’ll see how simple they truly are. With basic ingredients and a little creativity, you can make colorful treats that bring smiles to everyone’s faces.
Whether it’s for a special celebration or just a sweet craving, these small delights always hit the spot. Try them once, and you’ll probably find yourself making them again and again.
Happy baking — and enjoy every bite of your homemade cake pops! 🍭🎉


