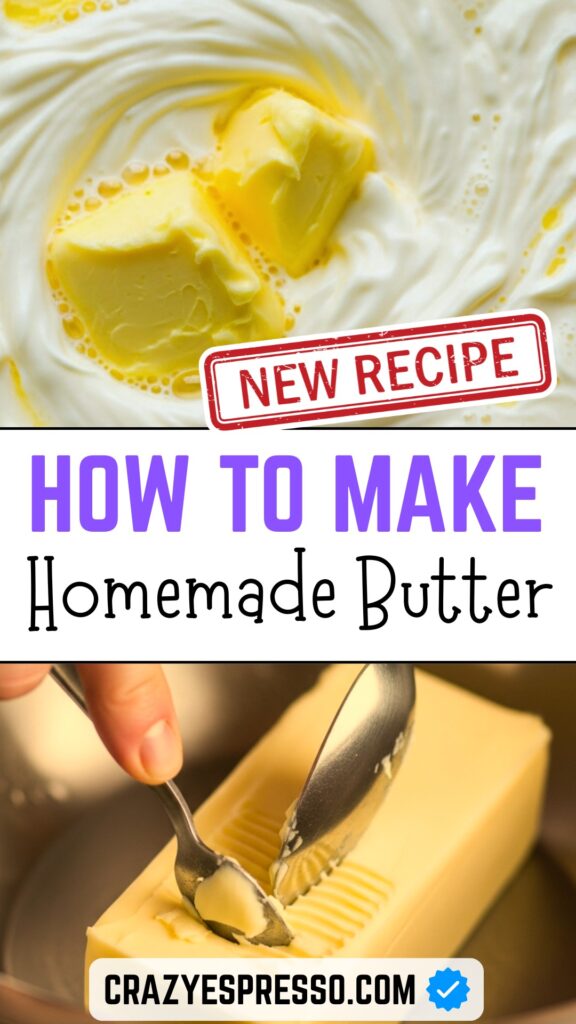
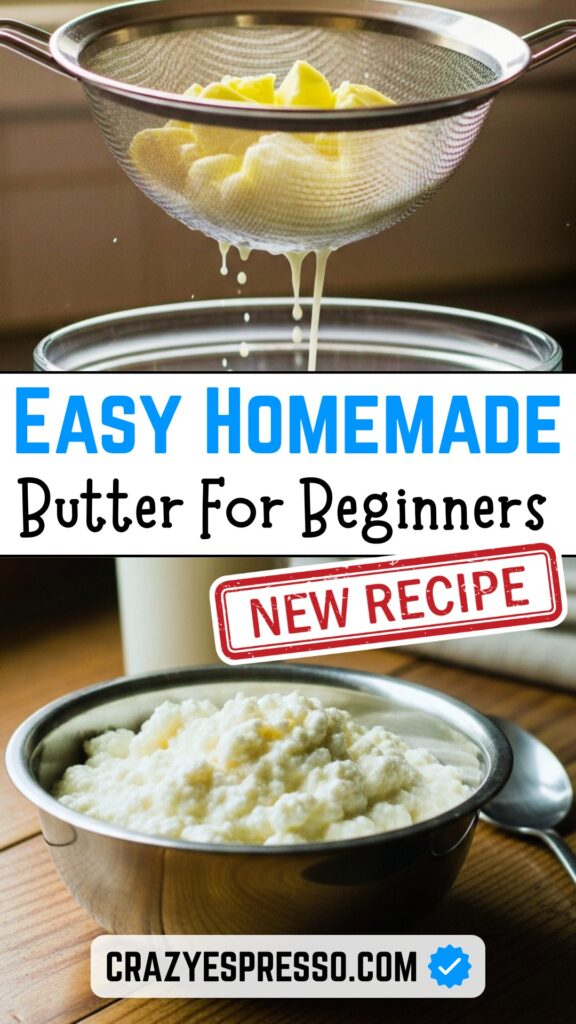
If you’ve ever opened your fridge, spotted a bottle of milk, and wondered, “Can I really turn this into butter?” — the short answer is yes, absolutely! Making butter at home is surprisingly simple, and once you try it, you’ll wonder why you didn’t do it sooner.
Homemade butter has a charm of its own. It tastes fresher, smells richer, and gives you that warm, old-school feeling of creating something from scratch. Plus, you control everything — no preservatives, no artificial flavors. Just pure goodness.
So grab a cup of tea, roll up your sleeves, and let’s walk through the whole process step by step.

🥛 Understanding the Basics: How Does Milk Become Butter?
Before we dive into the steps, let’s quickly understand what’s happening behind the scenes.
Milk contains fat, and when you churn or shake milk long enough, that fat begins to separate from the liquid. The fatty part becomes butter, while the leftover liquid becomes buttermilk — which you can use for pancakes, baking, or drinking.
Traditionally, people used whole cream collected from boiled milk. But you can still do it easily from regular full-fat milk.
🧈 Step-by-Step Guide: How to Make Butter From Milk at Home
Below is the full guide, written in a friendly, natural tone so you can follow along without getting confused.
🥛 Step 1: Collecting the Cream (Malai)
This is the heart of the process.
If you’re using fresh full-fat milk:
- Boil the milk once and let it cool completely.
- Place it in the fridge for 8–12 hours.
- A thick layer of cream (malai) will form on top.
- Scoop it out and store it in a clean bowl.
- Keep adding cream every time you boil fresh milk.
You’ll need around 2–3 cups of cream for a good amount of butter.
👉 Tip: Keep the bowl of collected cream in the freezer for 5–10 minutes before churning — this helps the butter separate faster.
🧂 Step 2: Prepare the Cream for Churning
Before the magic happens, you should lighten the cream a bit.
- Add ½ cup cold water into the cream.
- Mix gently so it blends smoothly.
This simple step helps the cream churn better.
🔄 Step 3: Churn the Cream (The Fun Part!)
Now it’s time to transform your cream into butter. You can do this in three different ways:
🥣 Option 1: Using a Traditional Hand Whisk
Old but gold! Just rotate the whisk quickly for 10–15 minutes. You’ll see the cream thicken and eventually split.
⚡ Option 2: Using a Hand Mixer
This makes things easier.
- Turn the mixer to medium speed.
- Beat the cream until it starts forming lumps.
- Within minutes, the butter will separate.
📌 Option 3: Using a Jar (Shake Method)
Perfect if you want a little workout.
Fill a glass jar halfway with cream, close it tightly, and shake like crazy for 7–8 minutes. First, you’ll get whipped cream… then it’ll suddenly split into butter lumps.
Whichever method you choose, you’ll know the butter is ready when:
- Yellowish lumps start forming.
- A milky liquid (buttermilk) separates.
💧 Step 4: Separate the Butter From Buttermilk
Once the butter forms:
- Use a strainer to separate the liquid.
- Do not throw away the buttermilk — it’s great for cooking!
Place the butter lumps into a bowl.
❄️ Step 5: Washing the Butter (Very Important)
This step might sound strange, but it makes your butter last longer.
- Add ice-cold water to the butter bowl.
- Press and fold the butter with a spoon.
- Drain the water and repeat until the water becomes clear.
What this does:
✔ Removes leftover buttermilk
✔ Improves texture
✔ Keeps the butter fresh for days
🧈 Step 6: Shaping & Storing the Butter
Now your butter is ready for its final touch.
You can:
- Shape it into a block
- Store it in a jar
- Freeze it in small cubes
- Keep it wrapped in butter paper
If you like salted butter:
- Add a pinch of fine salt and mix it gently.
Store in the refrigerator — it easily lasts 2–3 weeks.
😋 Optional: Make Flavored Butter (Tastes Amazing!)
Once you master the basic butter, try these delightful variations:
🌿 Herb Butter
Mix butter with chopped parsley, garlic, and black pepper.
🍯 Honey Butter
Add honey for a sweet, creamy spread.
🌶 Spicy Butter
Blend in chili flakes and a hint of lemon zest.
🧄 Garlic Butter
Perfect for naan, toast, or steaks.
Each flavor brings a new vibe to your meals.
📌 Common Mistakes People Make (And How to Avoid Them)
Even though making butter is simple, a few things can slow you down:
❌ Not using cold cream
Warm cream takes much longer to churn and won’t separate properly.
❌ Adding too much water
Only add enough water to loosen the cream, not thin it.
❌ Skipping the washing step
Unwashed butter spoils quickly.
❌ Over-beating
Once butter forms, stop mixing — otherwise, the texture gets grainy.
🥛 Difference Between Homemade and Store Butter
| Feature | Homemade Butter | Store-Bought Butter |
|---|---|---|
| Freshness | Super fresh | Processed |
| Ingredients | Pure cream | Additives & preservatives |
| Taste | Rich & natural | Mild |
| Control | You decide | Factory-made |
| Price | Cheaper | More expensive |
There’s something satisfying about eating butter you made with your own hands — every bite feels special.
🍪 What Can You Use This Butter For?
Your homemade butter works beautifully in:
- Toast & paratha
- Baking cakes
- Cookies
- Cooking
- Pasta
- Butter chicken
- Khichdi
- Corn on the cob
- Garlic bread
- Desserts
It adds a warm, comforting flavor no store brand can match.
🧈 Quick Recipe (At a Glance)
Here’s a simple summary:
| Step | What to Do |
|---|---|
| 1 | Collect cream from boiled milk |
| 2 | Add cold water |
| 3 | Whisk until butter forms |
| 4 | Separate buttermilk |
| 5 | Wash with cold water |
| 6 | Add salt or flavor |
| 7 | Store and enjoy |
Easy, right?
❤️ Final Thoughts
Making butter at home isn’t just a kitchen skill — it’s a little journey. From collecting the cream to seeing the butter separate for the first time, everything feels rewarding. And once you spread that first spoon on warm bread… oh boy, the taste hits differently.
Try it once, and you’ll never look at supermarket butter the same way again.


