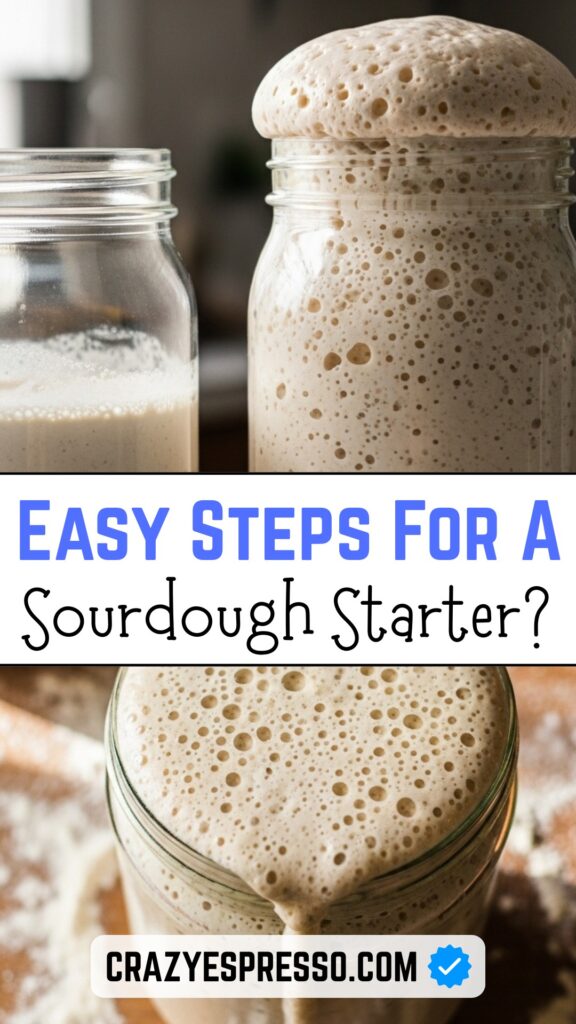
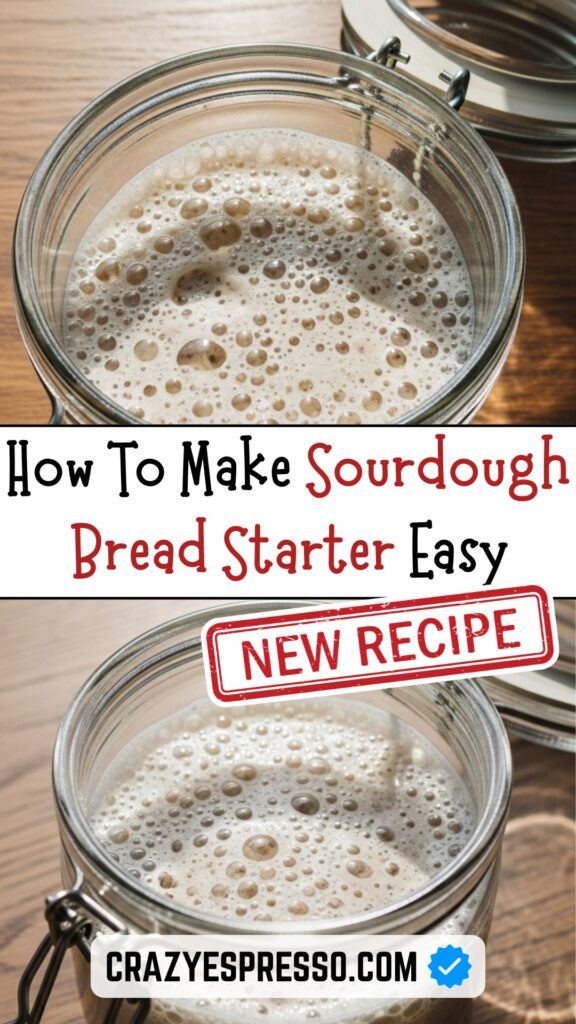
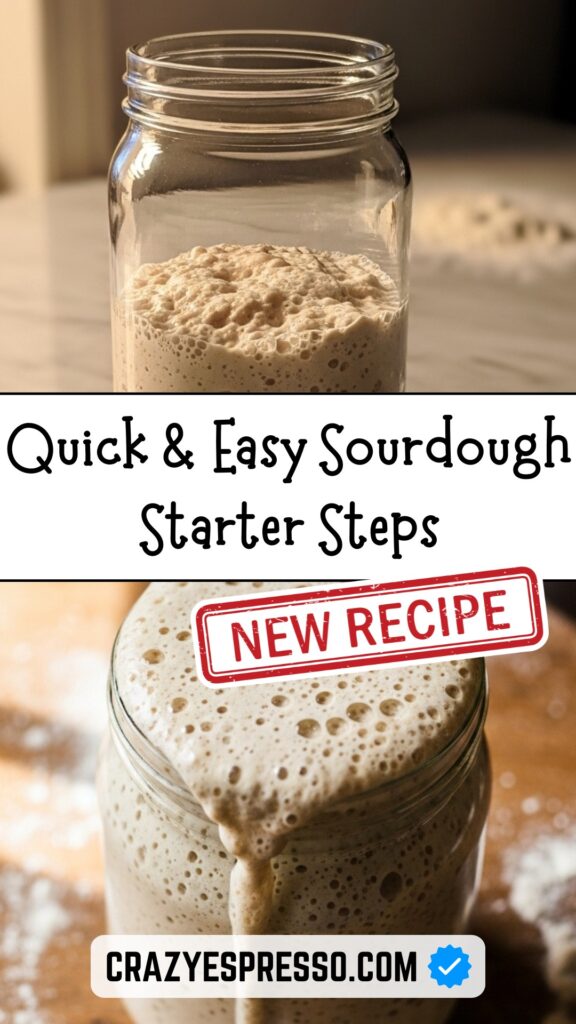
If you’ve ever tasted sourdough bread, you already know its magic — that tangy aroma, the chewy crumb, the crispy crust that sings when you slice it. What makes it special isn’t store-bought yeast. It’s something alive, something bubbling, something that grows on your kitchen counter: a sourdough starter.
Now, the idea of making a living culture might sound tricky, but trust me — it’s more like growing a tiny plant. Feed it, give it time, and it rewards you with beautiful bread forever. Once your starter becomes stable, you won’t need yeast for baking again.
In this guide, you’ll learn exactly how to make a sourdough starter from scratch with just flour and water, step-by-step. I’ll walk you through the daily routine, common mistakes, feeding schedules, and a few handy troubleshooting tips.

🌾 What Is a Sourdough Starter?
A sourdough starter is a mixture of flour and water that captures natural wild yeast and friendly bacteria from the environment. When these microorganisms eat the flour, they grow, release bubbles, and create the rise in your dough.
Think of it as a living ingredient that powers your bread.
Why Sourdough Starter Is Amazing
- No commercial yeast needed
- Adds flavor, aroma, and better texture
- Makes bread easier to digest
- Lasts forever if cared for
- Simple ingredients — cheap and accessible
🧰 What You’ll Need
Nothing fancy. That’s the best part.
| Ingredient / Tool | Details |
|---|---|
| Flour | Any: all-purpose, whole wheat, bread flour |
| Water | Filtered or boiled & cooled works best |
| Jar / Glass Container | Medium-sized, clear is helpful |
| Spoon | For mixing |
| Kitchen Scale (optional) | Makes measurements precise |
| Clean Cloth / Lid | To loosely cover the jar |
🥣 The Basic Formula
A sourdough starter is usually made in equal parts:
| Ingredient | Amount |
|---|---|
| Flour | 50g |
| Water | 50g |
This is called 100% hydration starter — the most common style.
📅 How to Make a Sourdough Starter (Day-by-Day Guide)
Let’s go through it step by step.
🌱 Day 1 — Mix the First Batch
In a clean jar:
- Add 50g flour
- Add 50g water
- Stir until smooth (thick paste is normal)
- Cover loosely
Keep the jar at warm room temperature — around 22–26°C.
What’s happening today:
Not much! The mixture is just getting started.
🌤️ Day 2 — Small Signs of Life
Open the jar. You might see:
- A few small bubbles
- Slight sour smell
- A rise and fall shape
Or maybe nothing. Both are normal.
Now feed it:
- Remove half of the mixture (keep only 50g).
- Add 50g flour + 50g water.
- Mix well and cover again.
| Day | Action | Signs |
|---|---|---|
| 2 | Remove half, feed fresh flour & water | A few tiny bubbles, slightly sour aroma |
🔄 Day 3 — More Activity
Your starter should look livelier now.
You may see:
- More bubbling
- A bigger rise
- A tangy smell getting stronger
Feed it the same way as Day 2.
| Feed | Amount |
|---|---|
| Keep | 50g starter |
| Add | 50g flour |
| Add | 50g water |
If the starter is rising and collapsing quickly, it’s waking up nicely.
⚡ Day 4 — Starter Starts to Double
Now things get exciting.
The starter may:
- Double in size
- Smell pleasantly tangy
- Look airy and bubbly
Continue the same feeding method.
If your kitchen is cold, it may take longer. Don’t worry.
🟢 Day 5 — Almost Ready
By Day 5, your starter should double within 4–6 hours after feeding.
If this happens, you’re close.
| Checkpoint | What You Want |
|---|---|
| Smell | Mild sour, slightly sweet |
| Texture | Frothy and airy |
| Rise | Doubles reliably |
If your starter is slow, continue feeding once daily until it’s strong.
🥖 Day 6–7 — Fully Mature
A mature starter will:
- Double or triple after feeding
- Show many bubbles
- Float when you drop a spoonful in water (the “float test”)
Congratulations — your sourdough starter is now ready for bread.
🥄 Feeding Schedule (Simple Table)
Once your starter matures, keep a feeding routine.
| Usage | Feeding Frequency |
|---|---|
| Baking every day | Feed twice a day |
| Baking twice a week | Feed once daily |
| Baking once a week | Store in fridge, feed weekly |
❄️ How to Store Your Starter
If you bake often
Keep it on the counter and feed daily.
If you bake occasionally
Place it in the fridge and feed once a week.
If you go on vacation
Dry it or freeze it — yes, it survives!
🧪 How to Know If Your Starter Is Ready
Here’s a simple checklist:
| Sign | Description |
|---|---|
| Doubles in 4–6 hours | Strong activity |
| Smells pleasant | Sweet, tangy aroma |
| Bubbly texture | Airy with tiny bubbles |
| Passes the float test | A spoonful floats in water |
If all of these match — your starter is good to go.
🛠️ Troubleshooting: Common Problems & Fixes
Even if things go wrong, there’s always a fix.
| Problem | Cause | Solution |
|---|---|---|
| No bubbles | Too cold | Move jar to a warmer spot |
| Bad smell | Wrong bacteria | Keep feeding; discard half |
| Mold | Contamination | Throw starter away; restart |
| Liquid on top (hooch) | Hungry starter | Feed more often |
| Too thick | Low water | Add a little more water |
| Too runny | Too much water | Feed with more flour |
🧂 What Flour Works Best?
Different flours create slightly different starters.
| Flour Type | Result |
|---|---|
| Whole Wheat | Fastest fermentation |
| Bread Flour | Strong gluten, reliable |
| All-Purpose | Easiest and cheapest |
| Rye Flour | Very active starter |
You can mix flours too. It’s flexible.
🌡️ Ideal Temperature for Fermentation
Temperature affects the speed:
| Temperature | Effect |
|---|---|
| Below 18°C | Slow activity |
| 20–26°C | Perfect range |
| Above 30°C | Too hot, weakens yeast |
Warm spots at home:
- On top of fridge
- Inside turned-off oven with light on
- Near a sunny window (not too hot)
🍞 How to Use Your Starter in Bread
Once mature, you can bake:
- Sourdough bread
- Pizza dough
- Pancakes
- Biscuits
- Waffles
- Buns
- Soft dinner rolls
And more…
But the basic rule for bread is:
| Ingredient | Amount |
|---|---|
| Starter | 80–120g |
| Flour | 500g |
| Water | 350g |
| Salt | 10g |
🧼 Caring for Your Starter Long-Term
Think of your starter like a small pet — easy to maintain if you stay consistent.
Keep the jar clean
Rinse the sides regularly to avoid dried crust.
Feed consistently
Regular feeding keeps yeast strong.
Don’t panic
Starters are tougher than they look.
Name it
Yes, some people name their starter. Why not?
📝 Sample Weekly Feeding Table
| Day | Action | Notes |
|---|---|---|
| Monday | Feed | Starter active |
| Tuesday | Feed | Keep warm |
| Wednesday | Bake | Use 100g starter |
| Thursday | Feed | Add fresh flour |
| Friday | Rest | If in fridge |
| Saturday | Feed | Keep alive |
| Sunday | Optional bake | Make pancakes or bread |
🤔 FAQ (Quick Answers)
How long does it take to make a sourdough starter?
Usually 5–7 days, depending on temperature.
Can I use tap water?
Yes, if it’s not heavily chlorinated. If unsure, boil and cool it.
What size jar is best?
A medium 500–700ml jar works great.
Can I skip discarding?
No — discarding keeps acidity balanced and prevents overgrowth.
🎯 Final Thoughts
Making a sourdough starter sounds like a long process, but once you start, it becomes second nature — like watering a plant or feeding a pet fish. A few minutes a day, and that’s it.
With just two ingredients and a little patience, you create something that lasts a lifetime and gives you endless fresh bread. And honestly, there’s nothing quite like pulling a warm sourdough loaf out of your own oven.

