Photography is one of the hardest things to learn. Pointing the lens and pressing the shutter is easy enough, but getting a shot that matches your vision is extremely difficult.
Luckily, there are countless photography tutorials for beginners. Here are 7 essential tips to help you improve as a photographer:
Table of Contents
#1) The Exposure Triangle
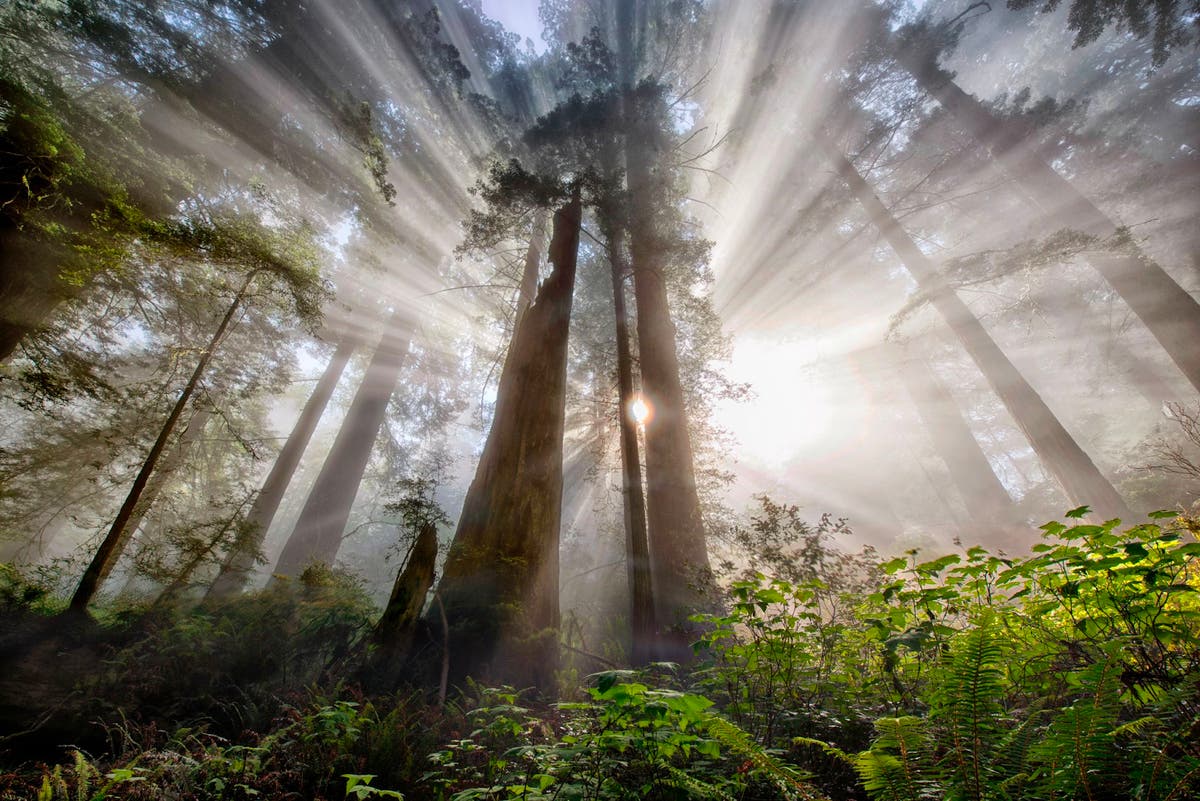
Photography is about capturing light. Most beginners think the magic of photography happens inside the camera body, but the true source of the magic is light.
A well-lit subject can be photographed poorly, but a poorly lit subject will never look good. Therefore, you must understand the exposure triangle. Exposure is the most important of all basic photography tips.
When you take a photo, the camera opens its shutter and begins to let light pass through the lens. This light strikes the camera’s sensor, which is then processed into an image. Three factors affect how the light is captured and what the final image looks like:
- Aperture: How large the lens opening is, measured in f-stops (f/2, f/5, f/11, etc.). The smaller the number, the larger the aperture. The wider the aperture, the more light enters. Aperture size also affects depth of field.
- Shutter speed: how long the shutter is left open, measured in seconds (1/200 sec., 1/60 sec., 5 sec., etc.). The slower the shutter speed, the more light enters. Shutter speed also affects sensitivity to motion (i.e., faster shutter speeds freeze motion, while slower shutter speeds produce motion blur).
- ISO: how sensitive the sensor is to light, measured in ISO units (ISO 100, ISO 400, ISO 6400, etc.). A higher ISO allows you to take photos in darker situations, but the trade-off is noise (“grain”). That’s why photos taken in the dark often have those characteristic grainy images.
Entire courses have been taught on the exposure triangle, so consider this a brief overview. The bottom line is that you need to master all three aspects—aperture, shutter speed, and ISO—to take photos that match your vision.
#2) How to hold a camera

The next thing a beginner photographer should learn is how to hold a camera correctly. By “correctly,” we simply mean “in a way that minimizes camera movement as much as possible.”
Remember: when the camera takes a picture, the shutter opens and the sensor is flooded with light. If you move while the shutter is open, the light will spread across the sensor, resulting in a blurry photo.
For low-light photography, long exposures, or any photography with telephoto lenses, it’s best to use a tripod. Nothing guarantees a stable, blur-free shot like a good quality tripod.
#3) The rule of thirds

Most of the time you can tell whether a given photo was taken by an amateur photographer or someone more experienced. The strongest clue is the composition. Amateurs often don’t think about composition, and great composition is the soul of a great photograph.
Composition is the placement of each element in a photograph. It describes how a photo is “put together,” implying its intentionality. Someone who doesn’t care about composition might only take good photos by chance. But once you truly understand composition, you can create excellent shots of any subject, location, or circumstance.
The easiest compositional guide to learn is the rule of thirds:
Mentally divide the shot into thirds using two vertical lines and two horizontal lines, then place elements of high visual interest at any of the four intersections.
Every photographer uses this technique. Some use it as a crutch, others as an alternative method when other composition techniques fail for a given shot. In any case, the rule of thirds should be part of your arsenal.
#4) Change your perspective when you start the photograph
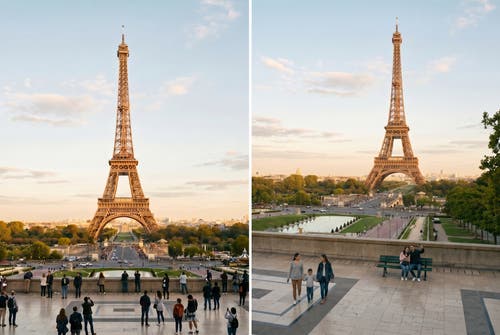
One way to guarantee a straightforward photo is to shoot your subject directly from eye level. We’re all familiar with this viewpoint, as we interact with the world from it every day. It’s ordinary, tiring, boring… But the solution is simple: shoot from a different perspective! This can mean a few things:
- Change your elevation (for example, get closer to the ground)
- Change your angle (for example, try standing more upright, or lean to one side)
- Change your distance (for example, move closer or further away)
Try a combination of all three. You’ll be surprised how different your shots feel with these changes.
#5) Post-processing is essential
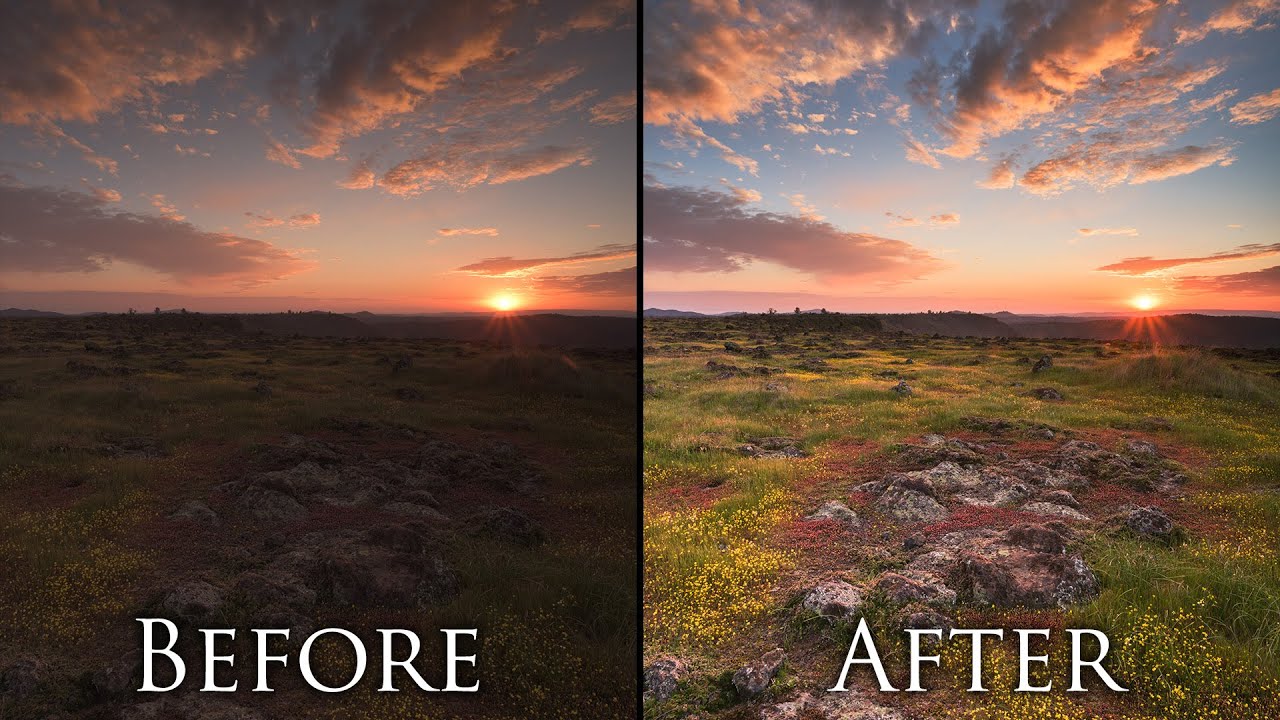
Post-processing is often perceived as “radically changing the essence of a photo using filters or high-impact effects.” This misunderstanding has led some photographers to promise that they will NEVER retouch photos and will stick to “natural” images. While their intentions are noble, they have misunderstood how cameras work.
Every camera performs post-processing, whether you like it or not. The actual sensor data is captured in a RAW file, but what you see on your camera’s LCD screen (or on your smartphone) is your camera’s interpretation of that RAW data, and your camera has no idea of your creative vision. Wouldn’t you rather do it yourself?
And not all post-processing has to be done with Photoshop. Think of it like makeup:
- Some people, without realizing it, overdo it with blush and lipstick.
- Some people experiment with makeup as a form of self-expression.
- Some use makeup to complement or subtly highlight their best features.
Similarly, post-processing can be heavy and exaggerated, or it can be intentionally stylistic, or it can be subtle and used only to enhance what is already there.
You need to process your images afterward! Don’t skip this important task. If you do, eventually all your shots will feel like they’re missing something, and that something will be a little love after processing.
#6) Photograph everything, photograph often
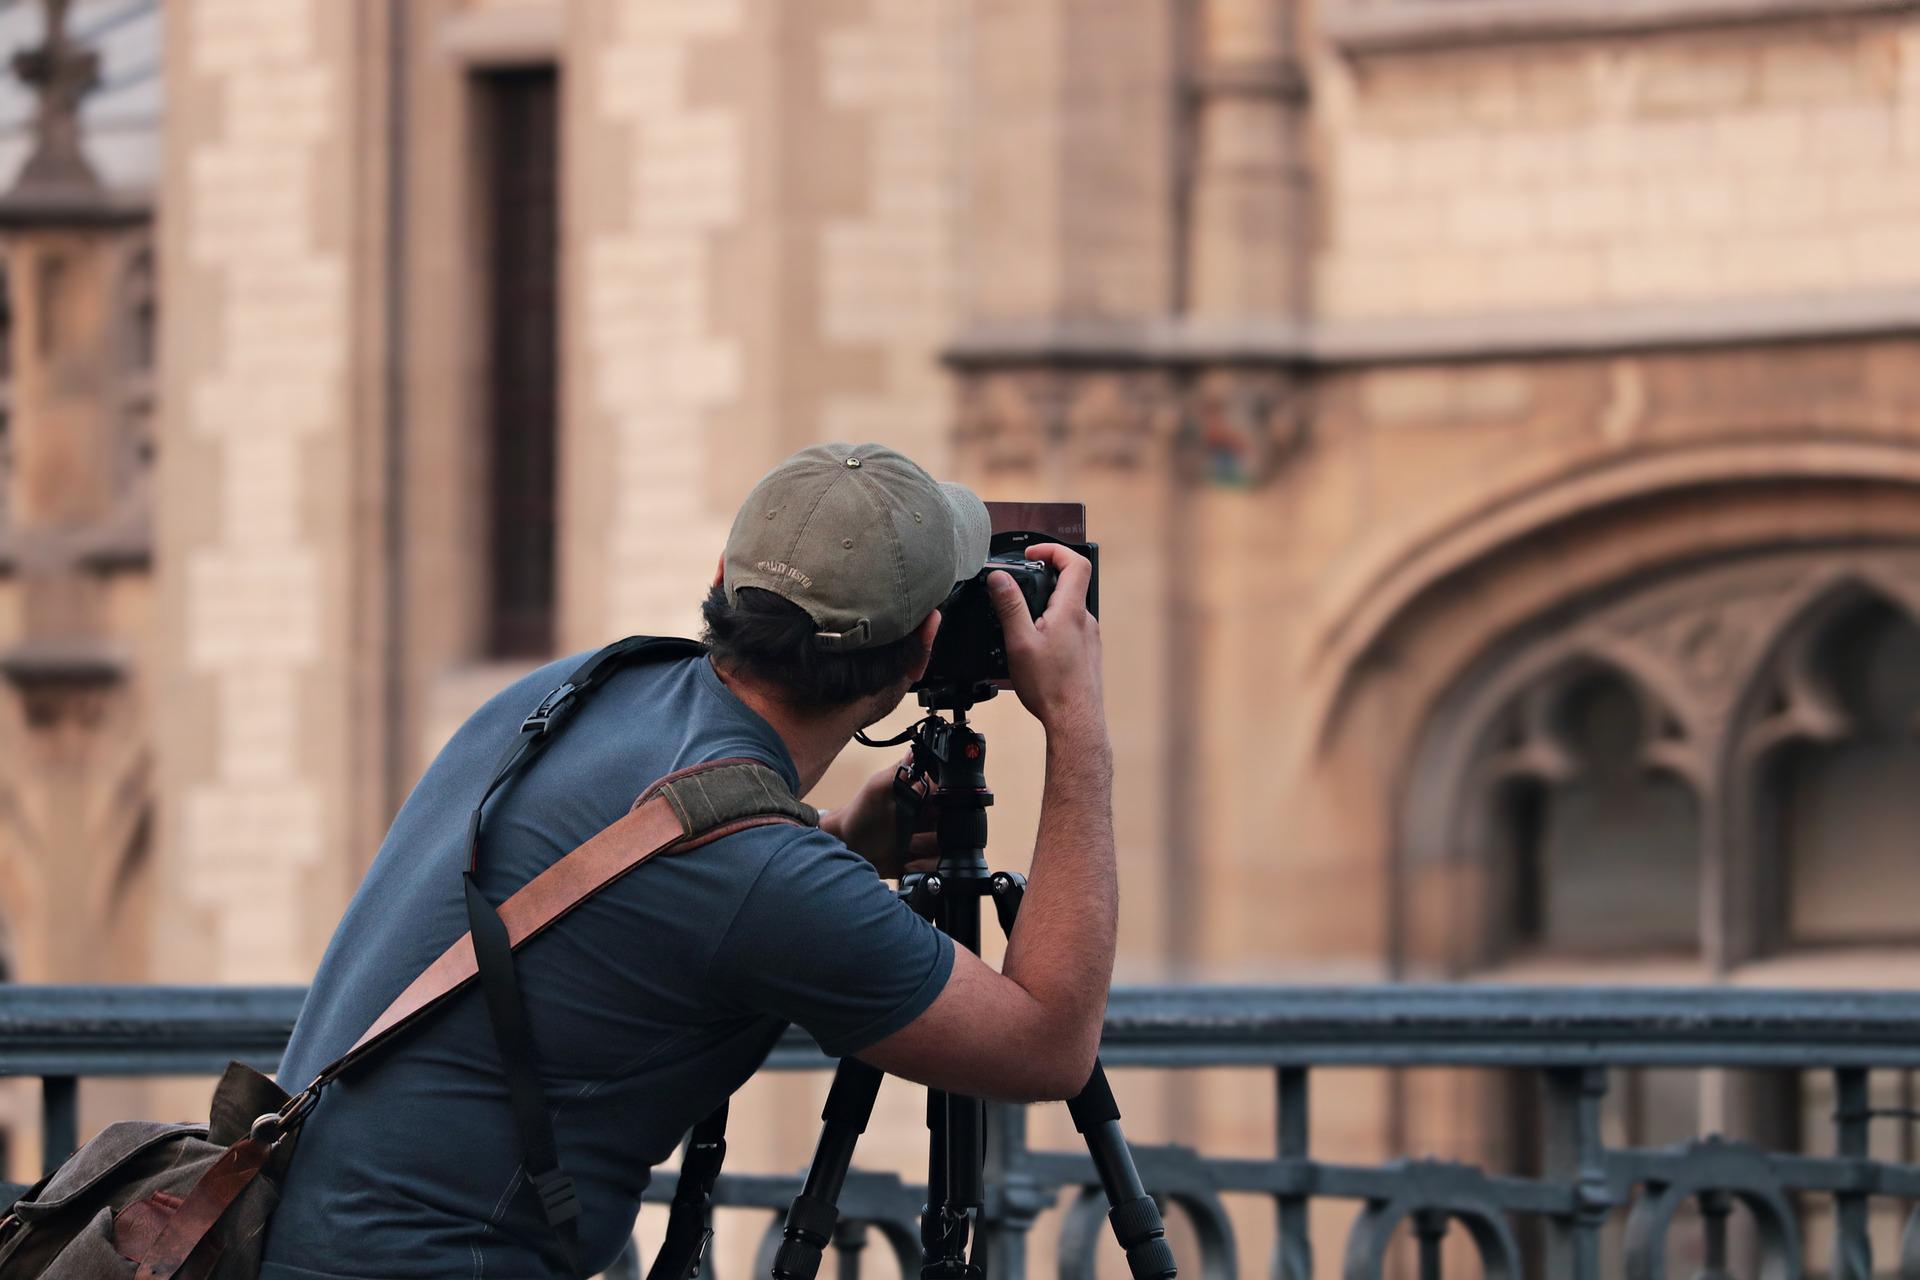
Practice makes perfect. There’s absolutely no way around this. It doesn’t matter how many YouTube videos you watch, how many photography articles you read, or how many Instagram photos you analyze; if you’re not shooting, you’re not improving. An ounce of experience is worth a pound of theory. Get out there and shoot!
Your first photos are going to be awful. You might have to shoot thousands before you get one you like. But every single one, no matter how bad, is a step toward becoming a better photographer. Practice not only helps you apply the theory you learn, but it also familiarizes you with your equipment and how different settings affect the final image.
#7) Don’t blame your team
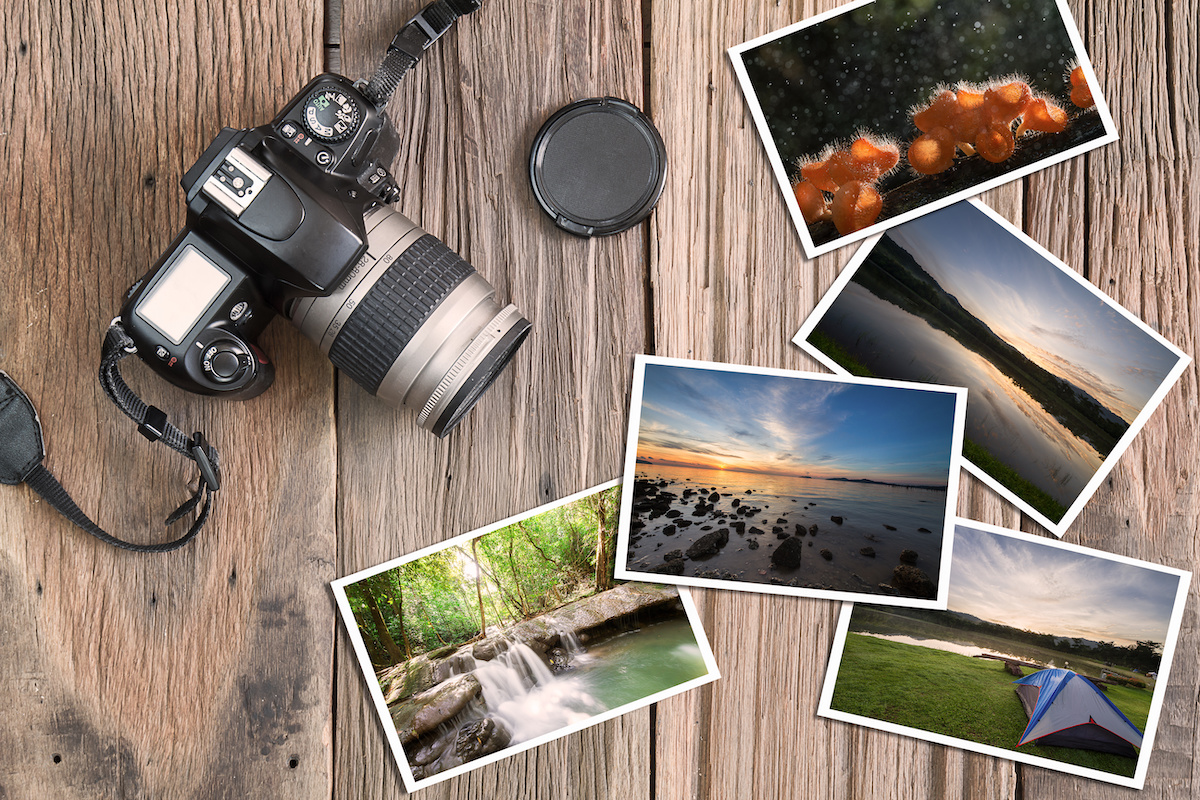
While there is essential equipment for photographers, having the right equipment isn’t as important as you might think. A skilled photographer can produce excellent photos with a bad camera, and an unskilled photographer will continue to shoot rubbish even with expensive, high-end gear.
This boils down to what we discussed earlier: light, exposure, composition, angles, perspective, and post-processing. If you can master all of these things, you’ll be able to take great photos with anything, even a smartphone.
Obviously, there are limits to your equipment, and it’s possible to upgrade a camera body, lens, flash, or accessory. But the bottom line is that upgrading your equipment won’t improve your photography skills. The sooner you accept this, the faster you’ll improve and progress.
How to improve your photos in 30 days without buying anything
It’s not a challenge to post a photo every day. It’s a plan to practice different problems and review the results.
| Week | Aim | Practice | What to review |
|---|---|---|---|
| 1 · Technique | Stop depending on the automatic | Movement, depth of field, exposure, and focus. | Can you consciously repeat a result? |
| 2. Light | Recognize different qualities | Same subject in window, shadow, sun, sunset and artificial light. | What changes in volume, texture, and climate? |
| 3 · Composition | Stop always taking photos from the same place | One theme, ten points of view; backgrounds; borders; lines; space. | Which framing makes the intention clearer? |
| 4 · Series + edition | Building an idea | Choose a theme, take 60 photos, reduce them to 10, and arrange them. | Do the images work well together or are they just good isolated photos? |
The useful metric is not how many photos you took
Ask yourself how many new decisions you’ve learned to repeat. If, by the end of the month, you’re better at controlling light, movement, or framing, you’ve made progress, even if your number of “good” photos is still small.