Hi everyone, I’ve finally decided to try out the cake pop maker I received as a birthday present.
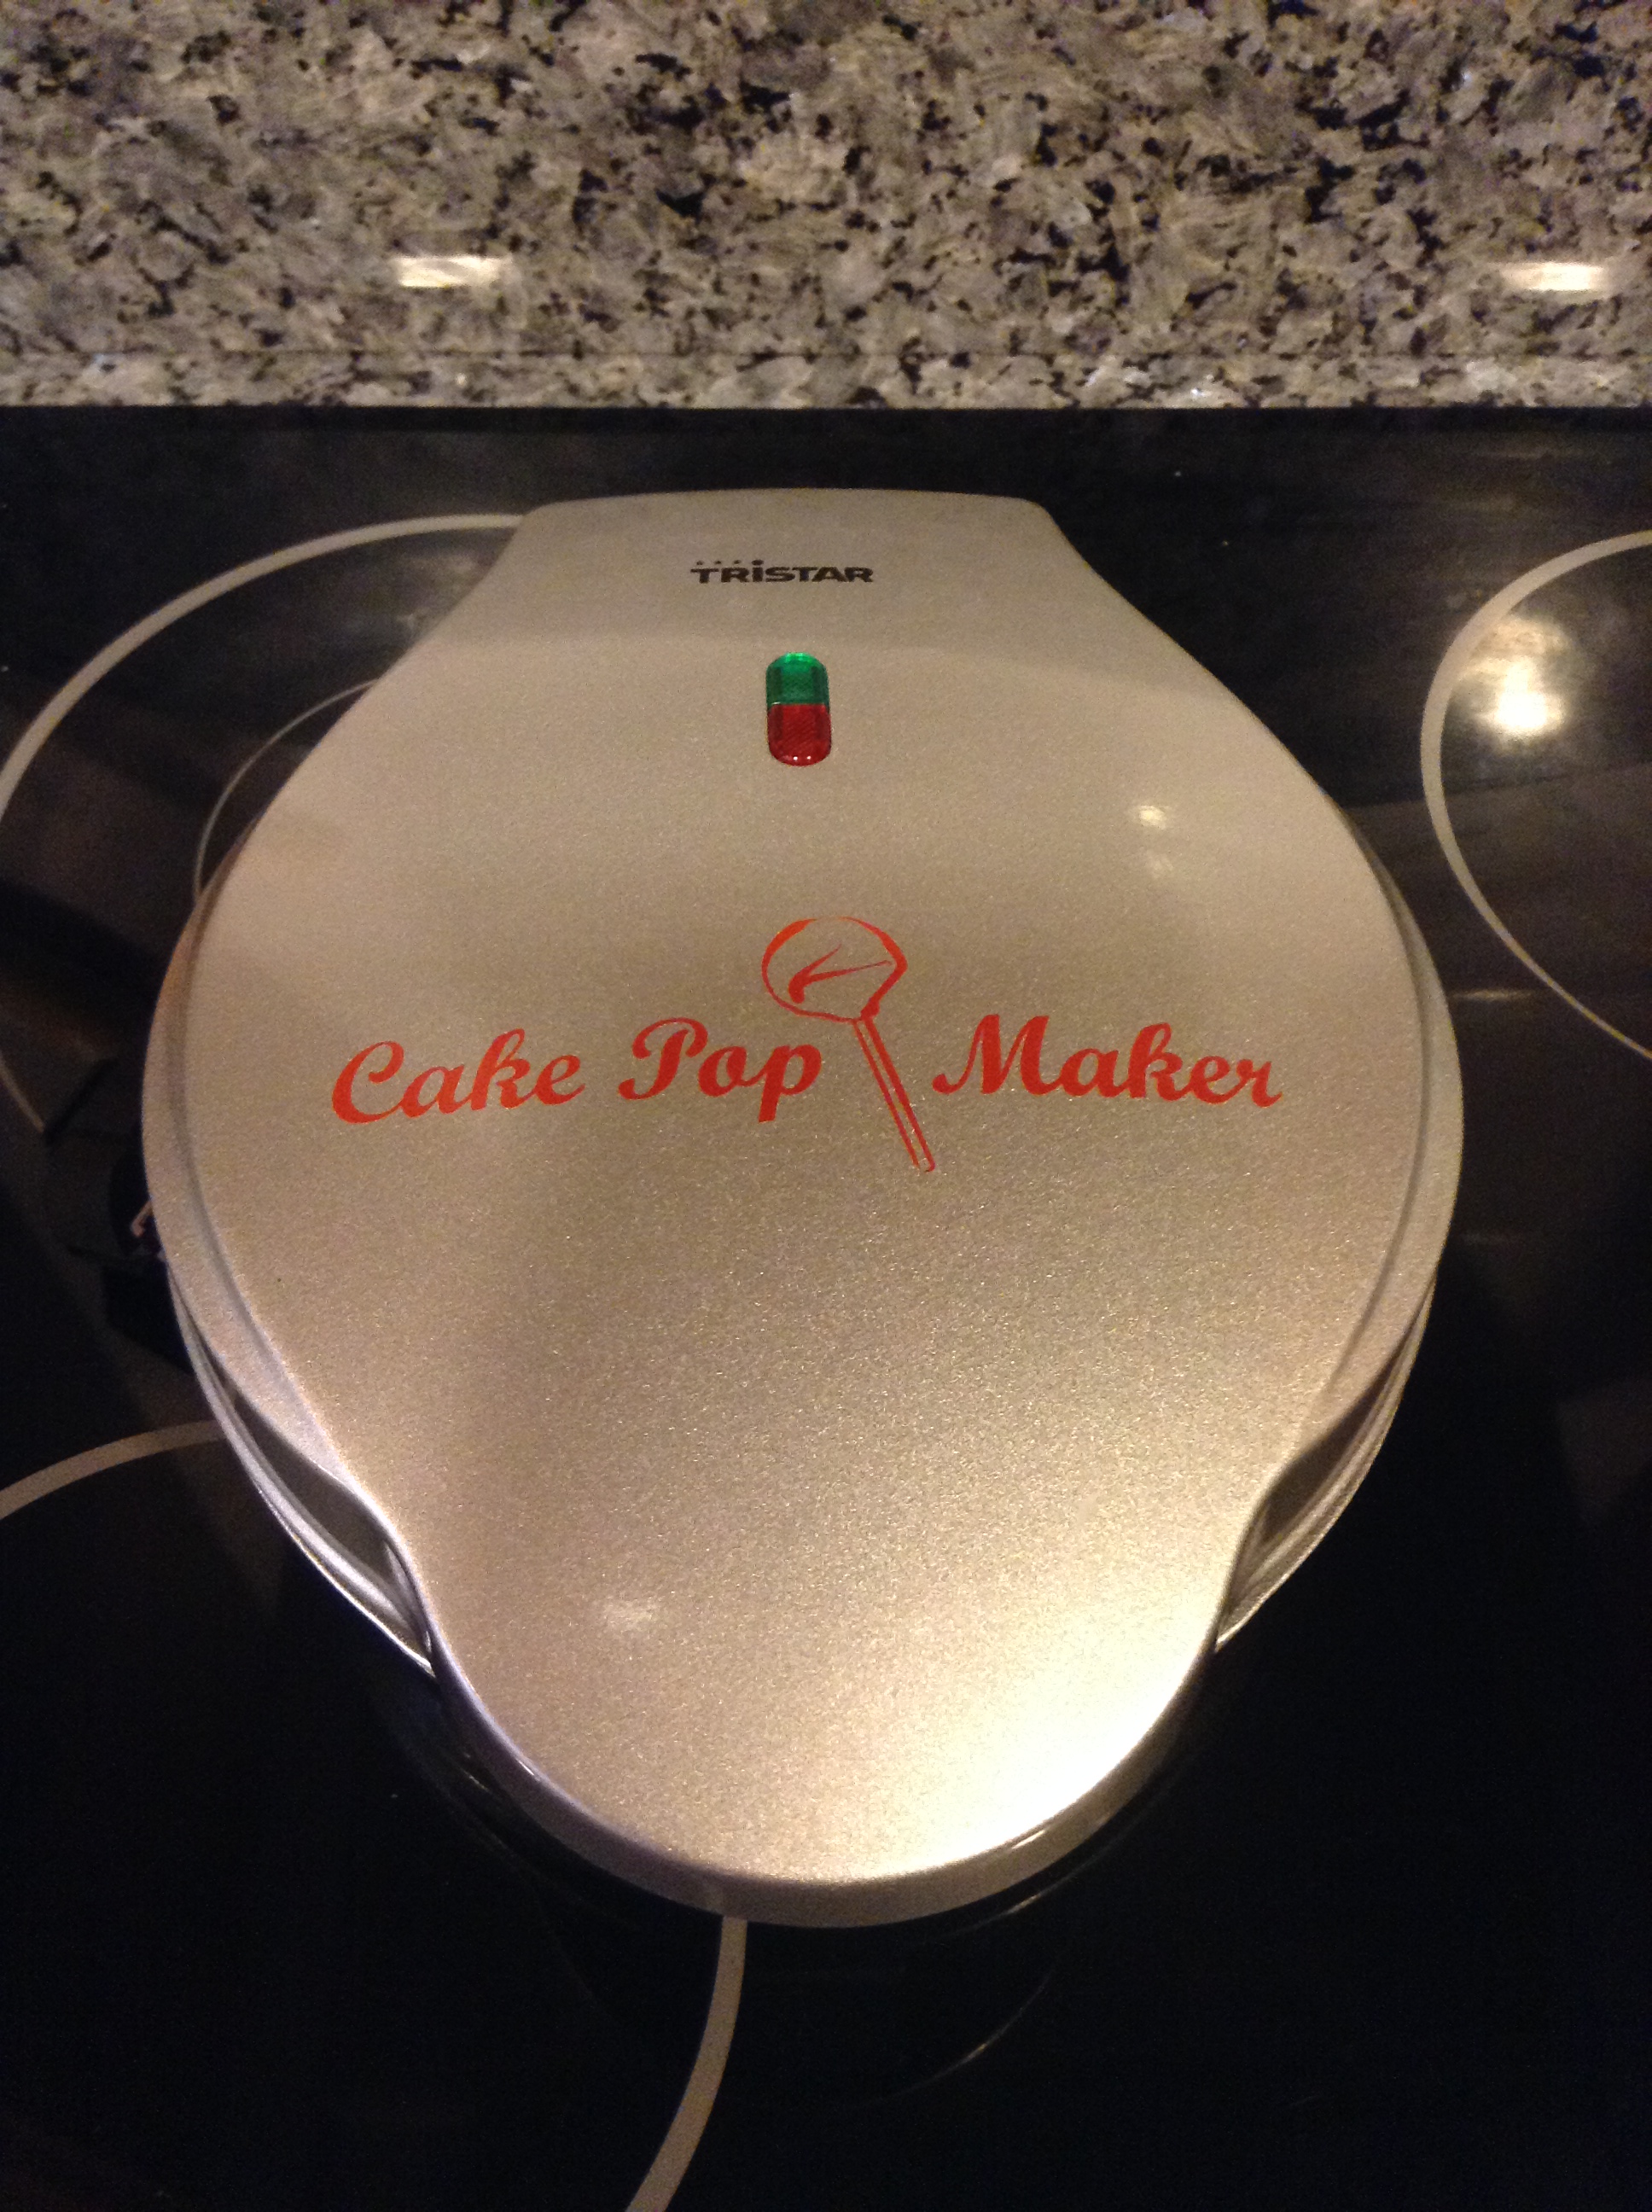
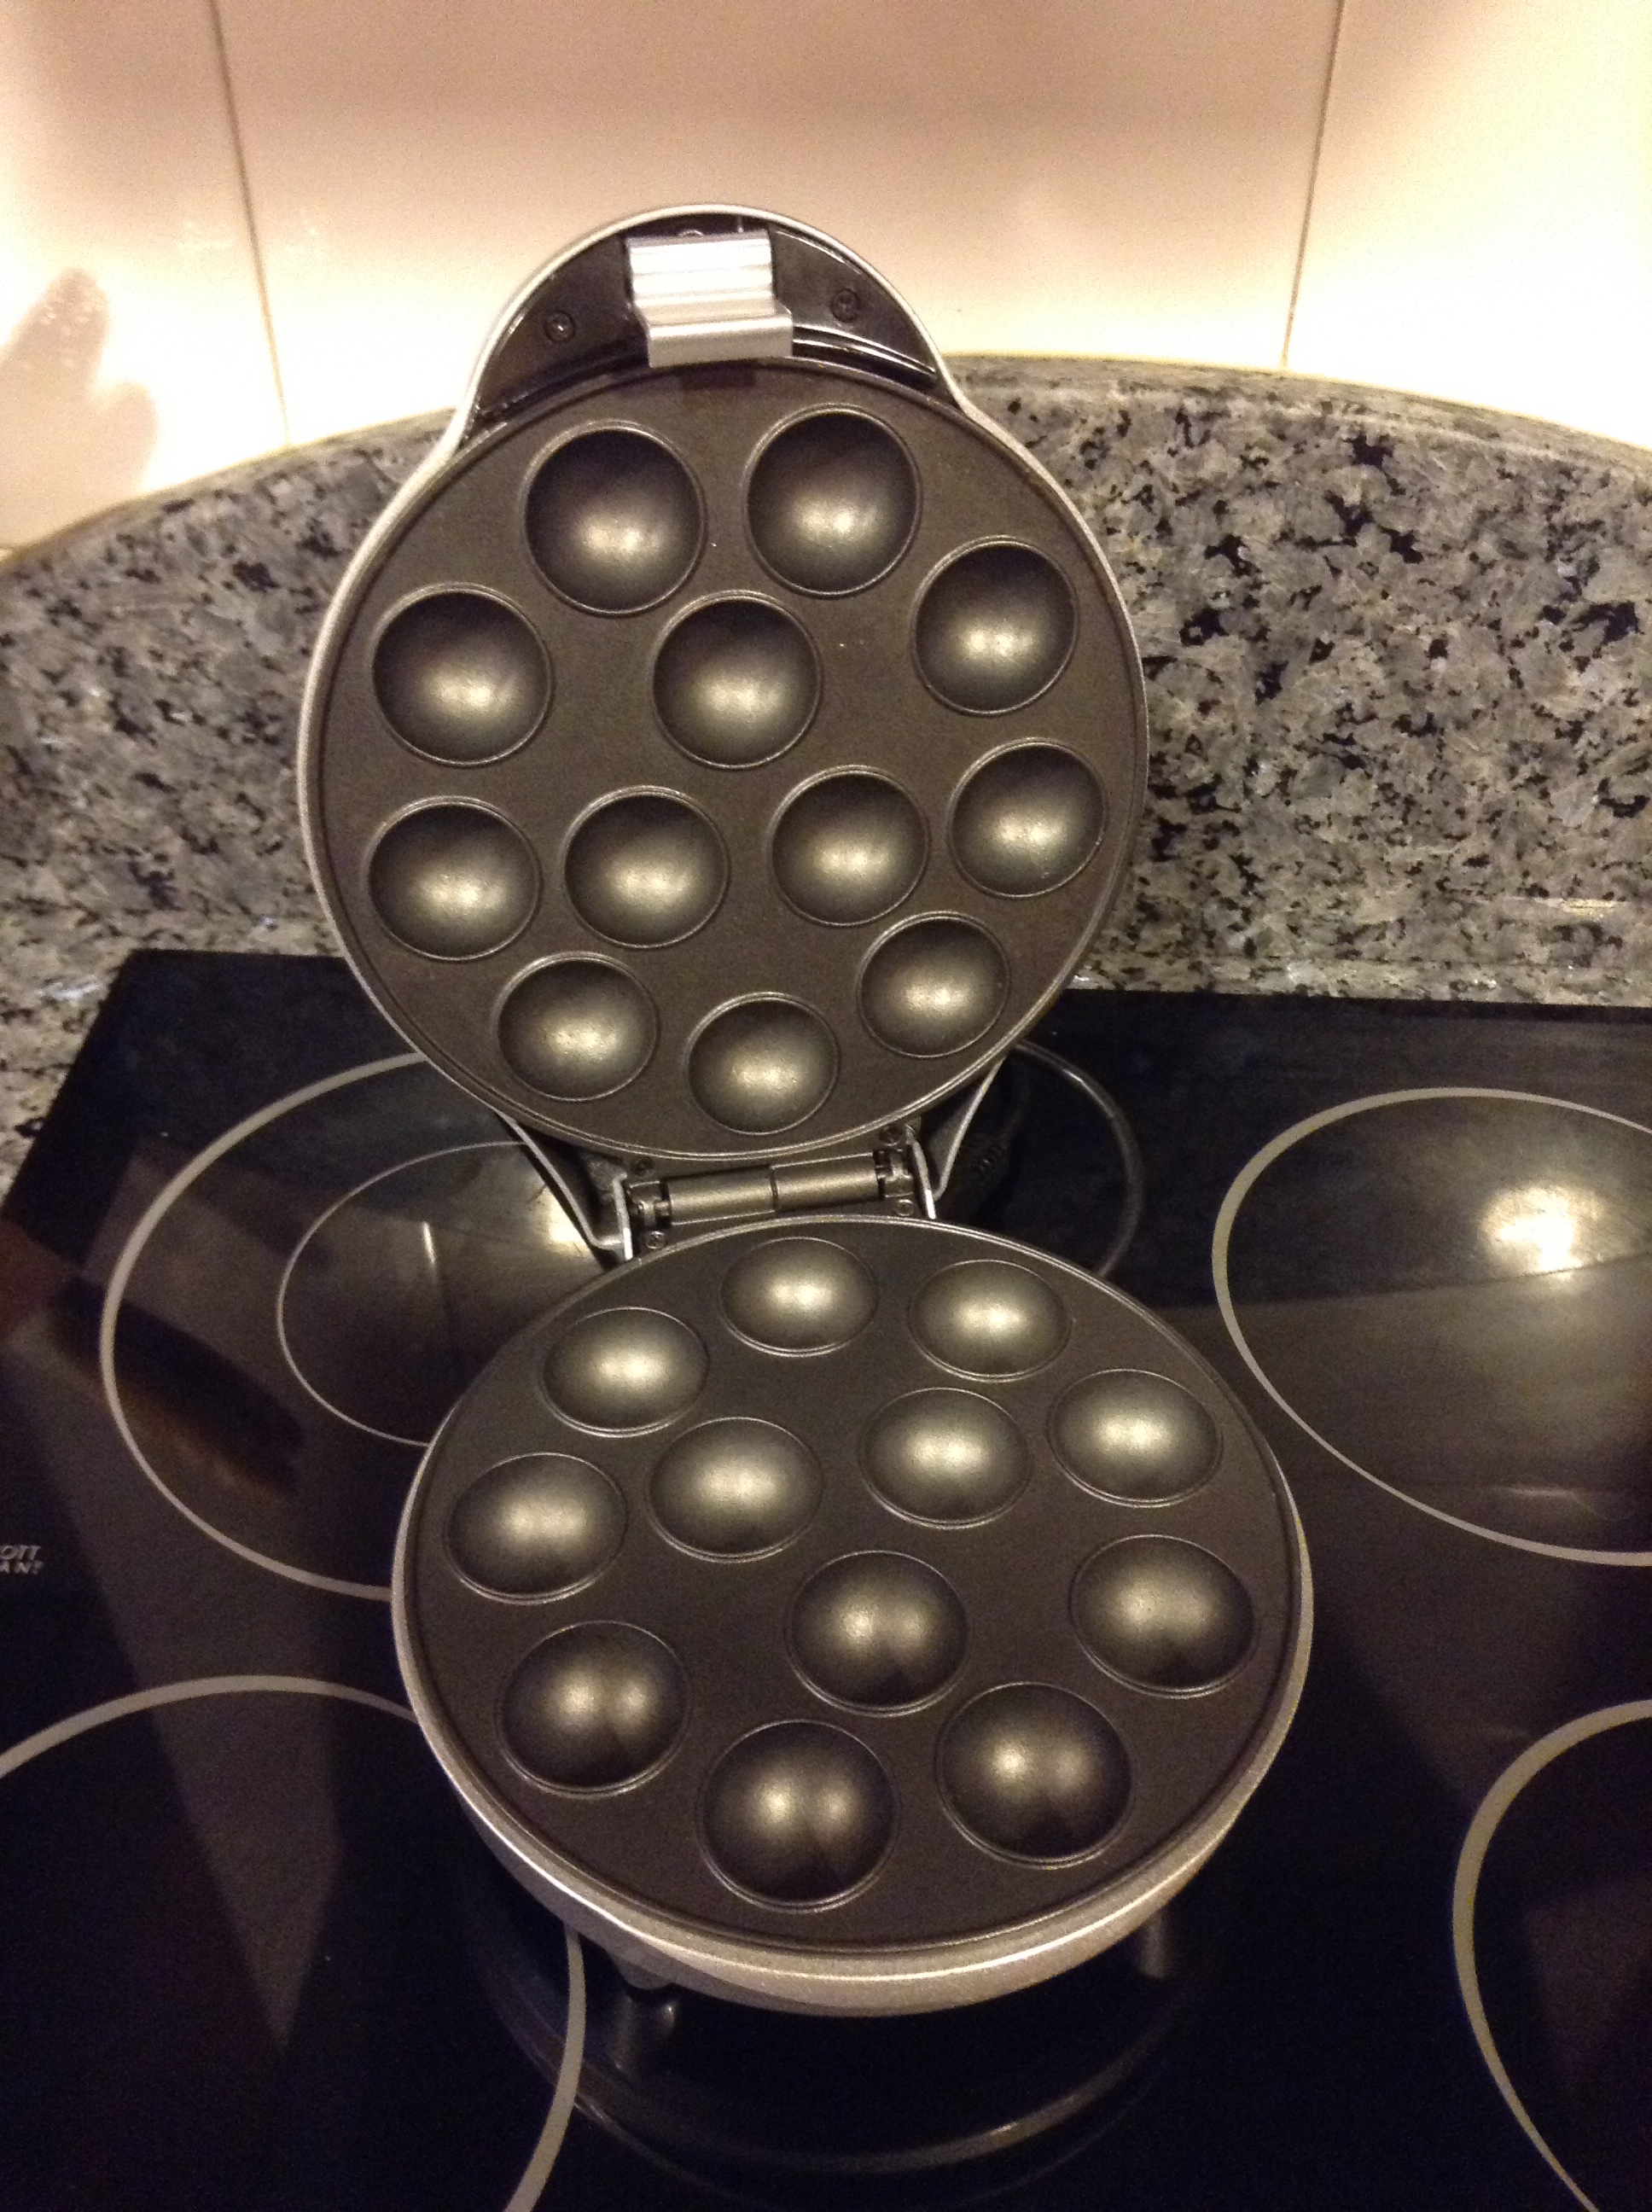
And I have to say it’s fantastic. You prepare the batter, and once the machine is hot, you pour it into the cavities (using a piping bag, a jug, or a spoon). In just 5 minutes, you have wonderful cake pops . It’s that easy and simple.
They can also be made without a machine; I’ve prepared them both ways and I particularly like them better with the machine, as they are lighter because you don’t have to add cream cheese or buttercream.
It’s a bit tedious to decorate, but it’s very easy. Let me tell you.
Ingredients
To make the cake (makes about 30 cake pops ):
– 50 ml of sunflower oil
– 100 gr. of sugar
– 100 gr. of flour
– ¾ teaspoons of Royal baking powder
– 60 ml of milk
– ½ teaspoon of lemon
– 1 egg
– 1 teaspoon of vanilla extract (or to taste)
Elaboration
We mix the milk with the lemon juice and let it sit for 10 to 15 minutes. This makes buttermilk; the milk will look curdled, but don’t throw it away, it’s normal and it’s what we want (even though it sounds awful and we don’t like the smell).
Using a hand whisk, beat the oil with the sugar and the egg.
Mix the flour together with the yeast and add half of that mixture, beat until everything is integrated.
Now it’s time to add the milk and beat again.
Finally, add the other half of the flour and stir just until well mixed.
Now we add the vanilla extract and food coloring (if you want to tint the dough). For my cake pops, I tinted it pink using Sugarflair’s pink food coloring.
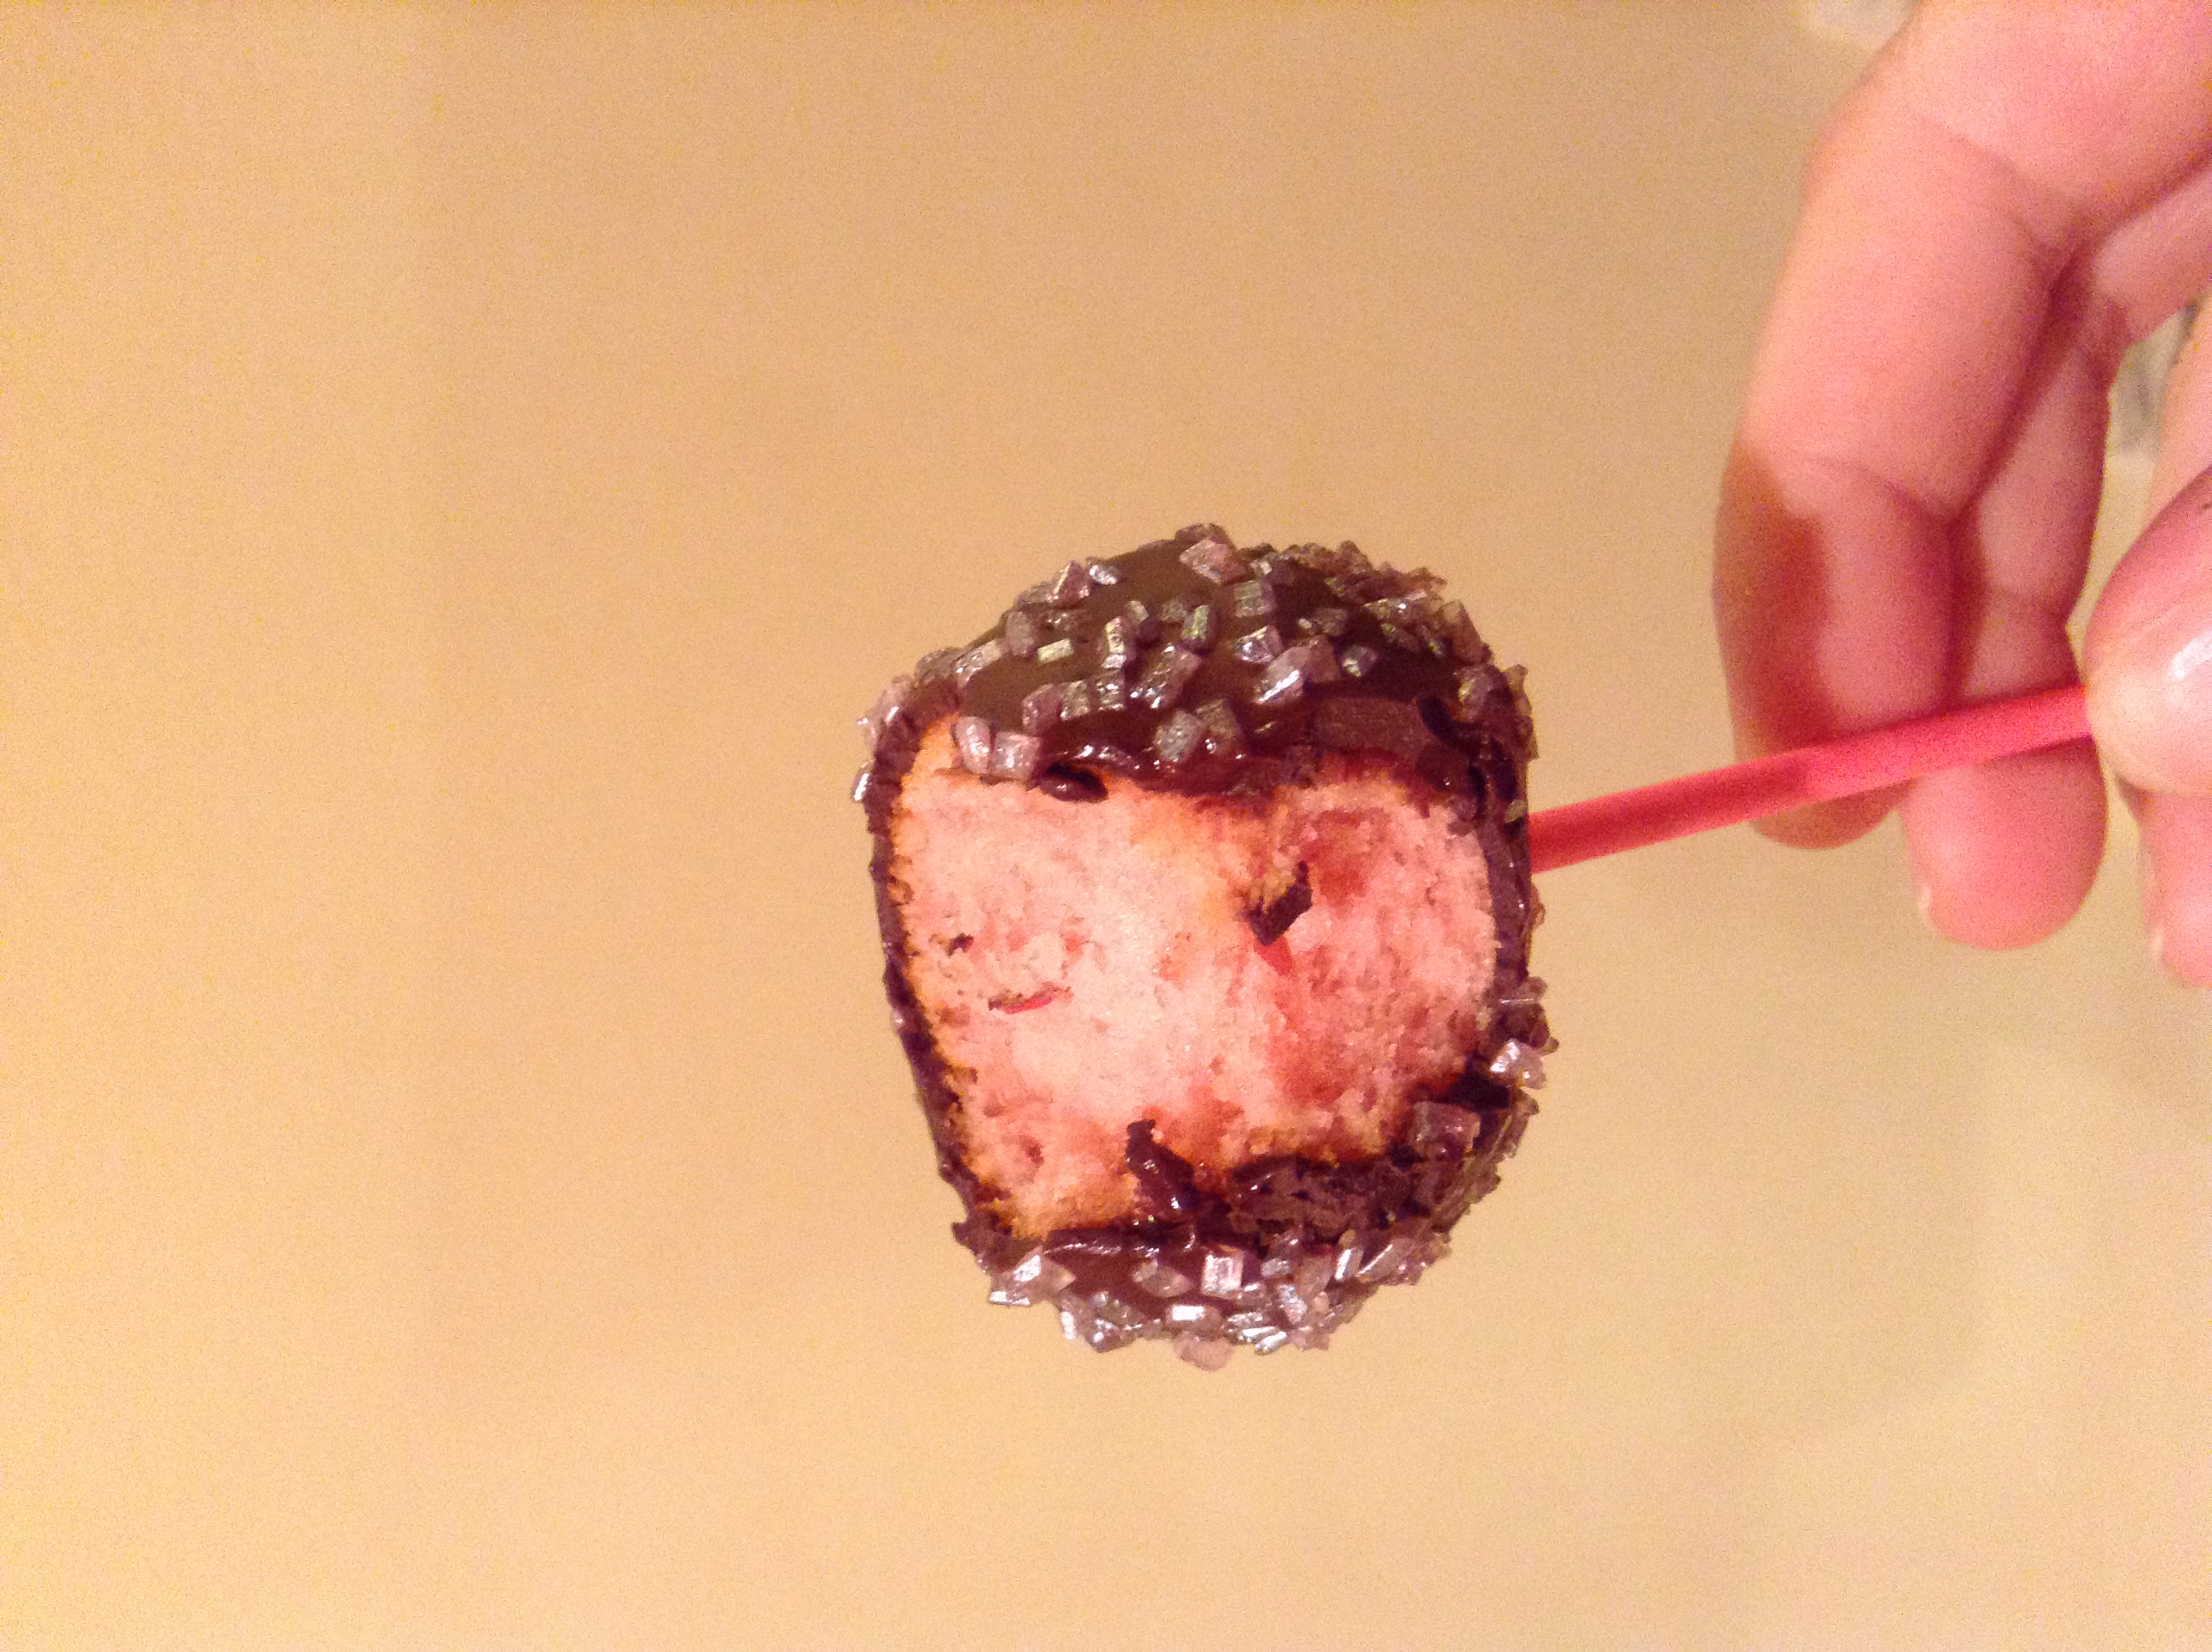
And now the dough is ready, ready to use with the cake pop maker . It’s that easy!
We grease all the cavities with butter or oil and when it’s hot we fill the cavities (I fill them all the way to the top).
You have to fill the cavities quickly, because when the machine is hot the dough rises quickly and spreads all over the plate (it happened to me).
Once filled, close the machine and wait 5 minutes. In my case, it was even less, as they are very hot; you can remove them with the double skewer that comes with the machine.
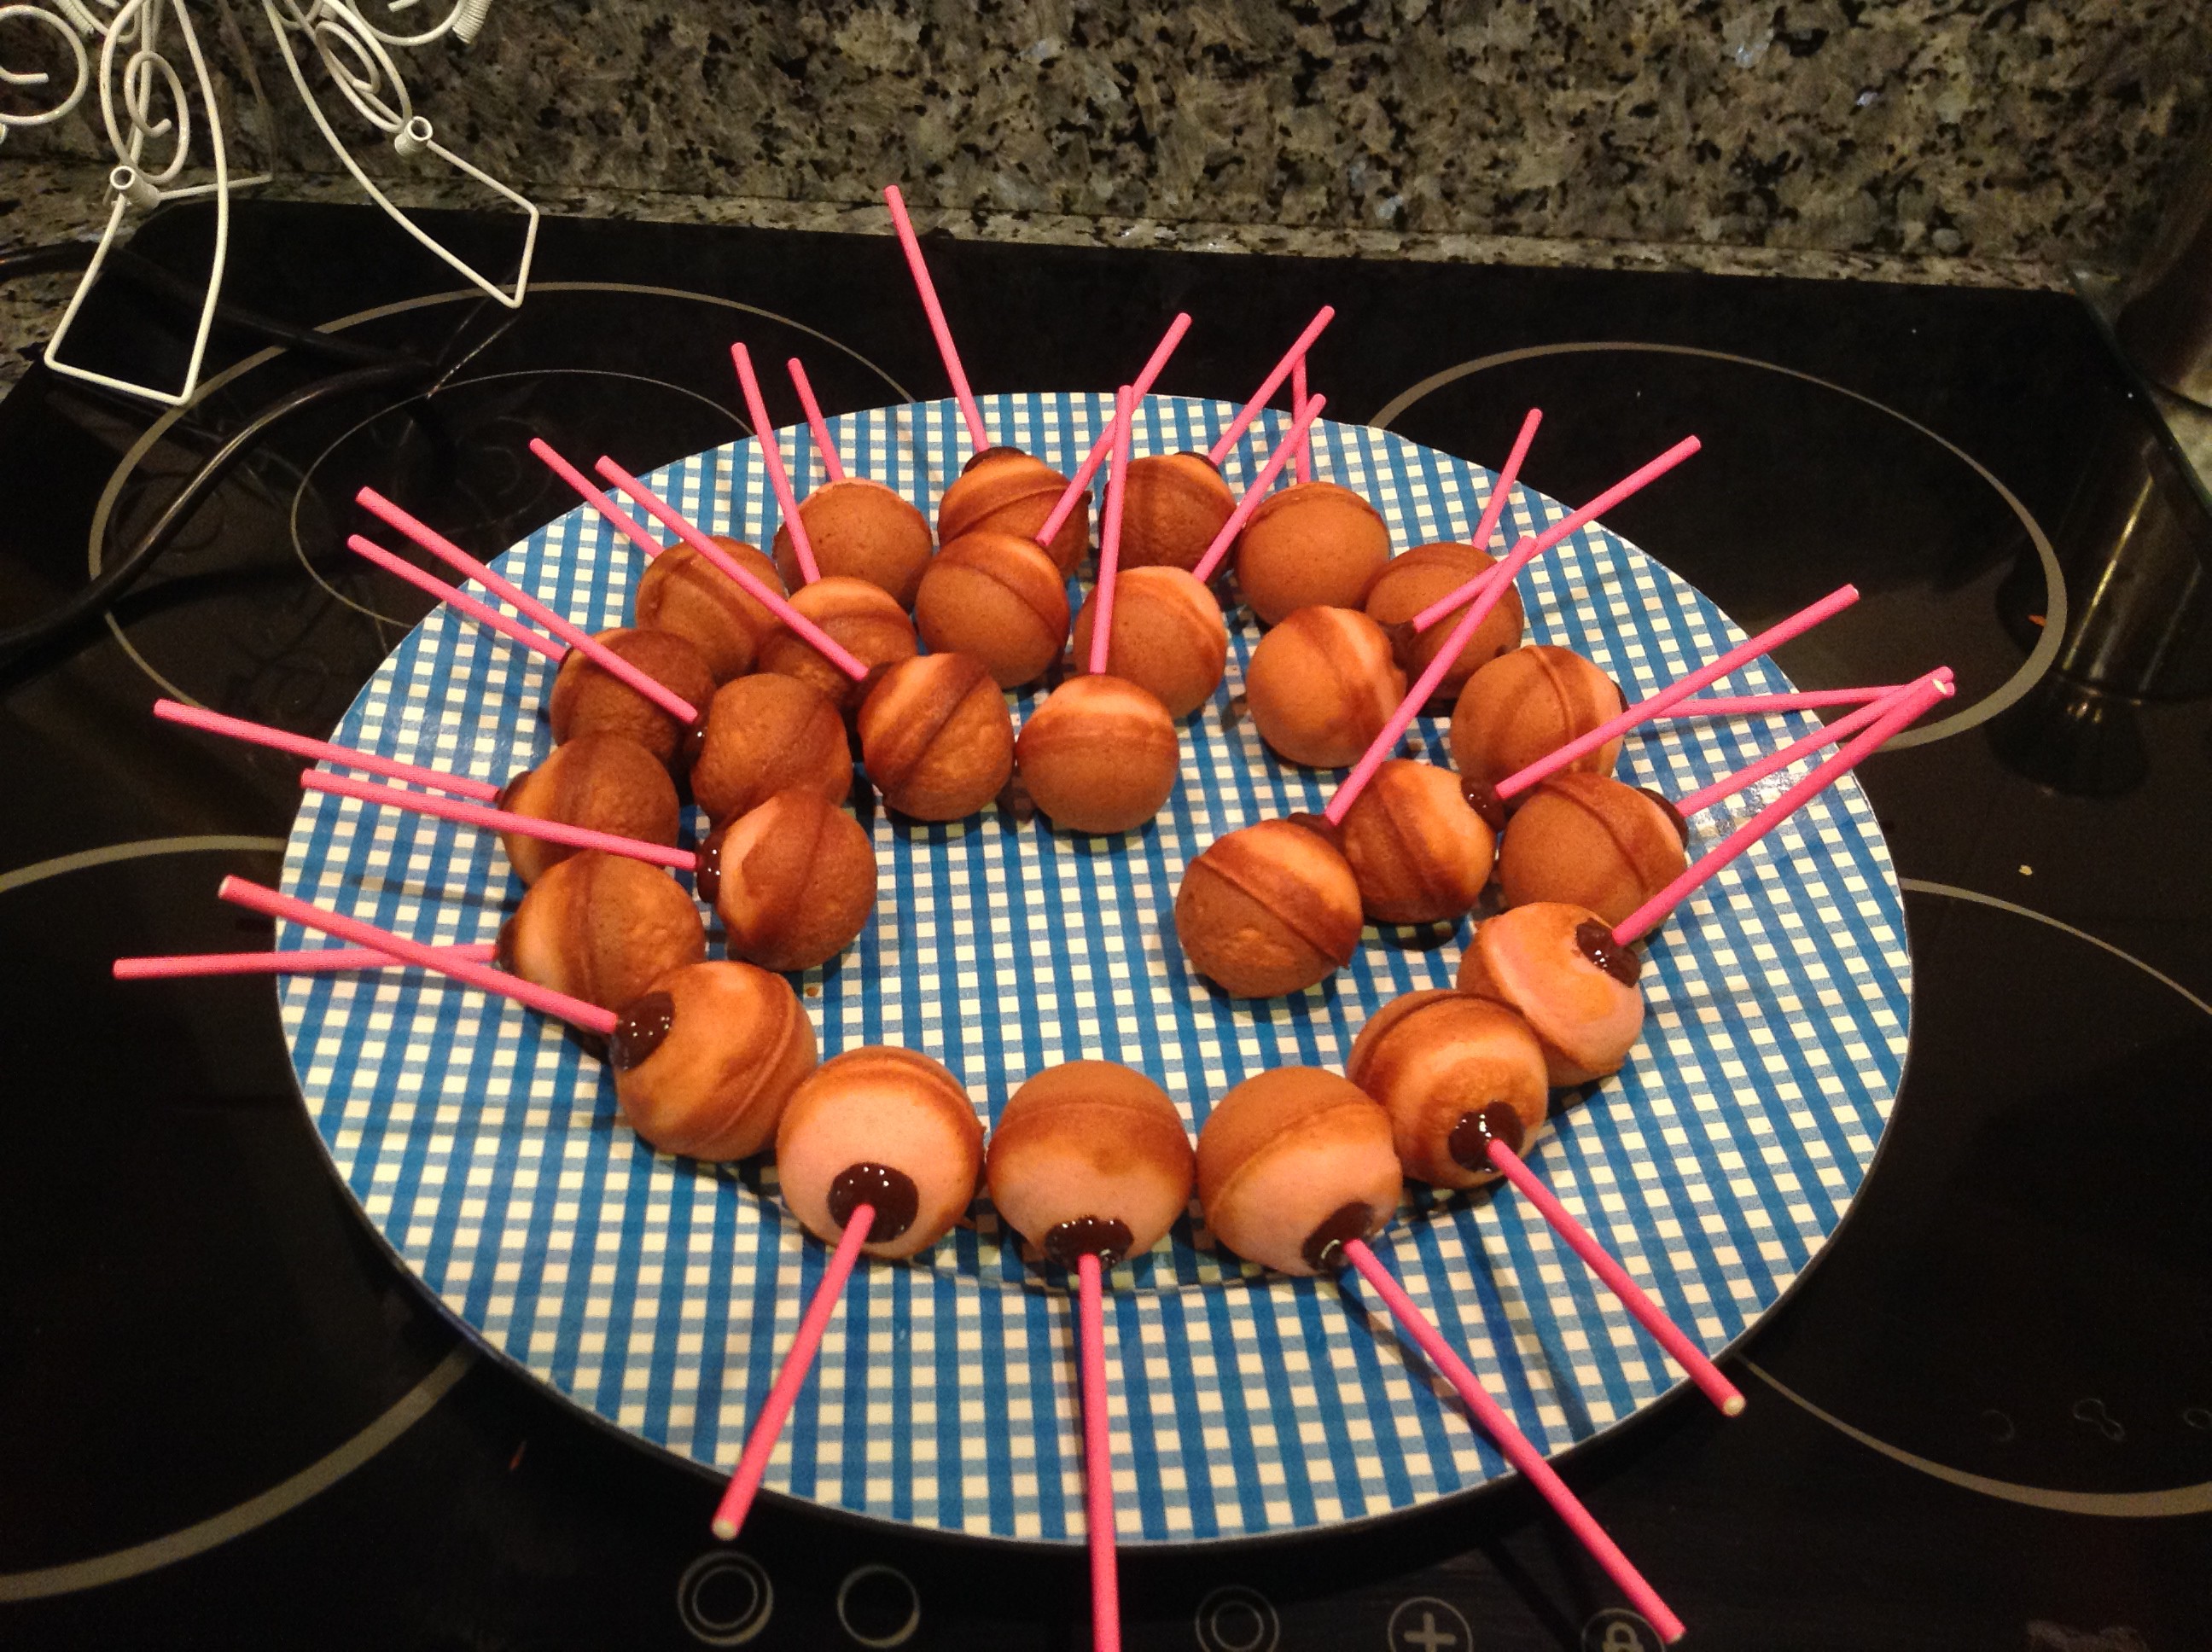
We let them rest on a rack and when they are completely cold, we dip the cake pop sticks in a little melted chocolate and insert them up to about halfway into the ball.
Once they’re all ready, put them in the freezer for 10 minutes or in the refrigerator until the chocolate hardens a bit. This worked perfectly for me; not a single cake pop failed .
Decoration
This may be the most complicated step in making these eye-catching little balls.
They can be decorated with Candy melts, which can be bought in baking stores and come in adorable colors, or also with melted chocolate.
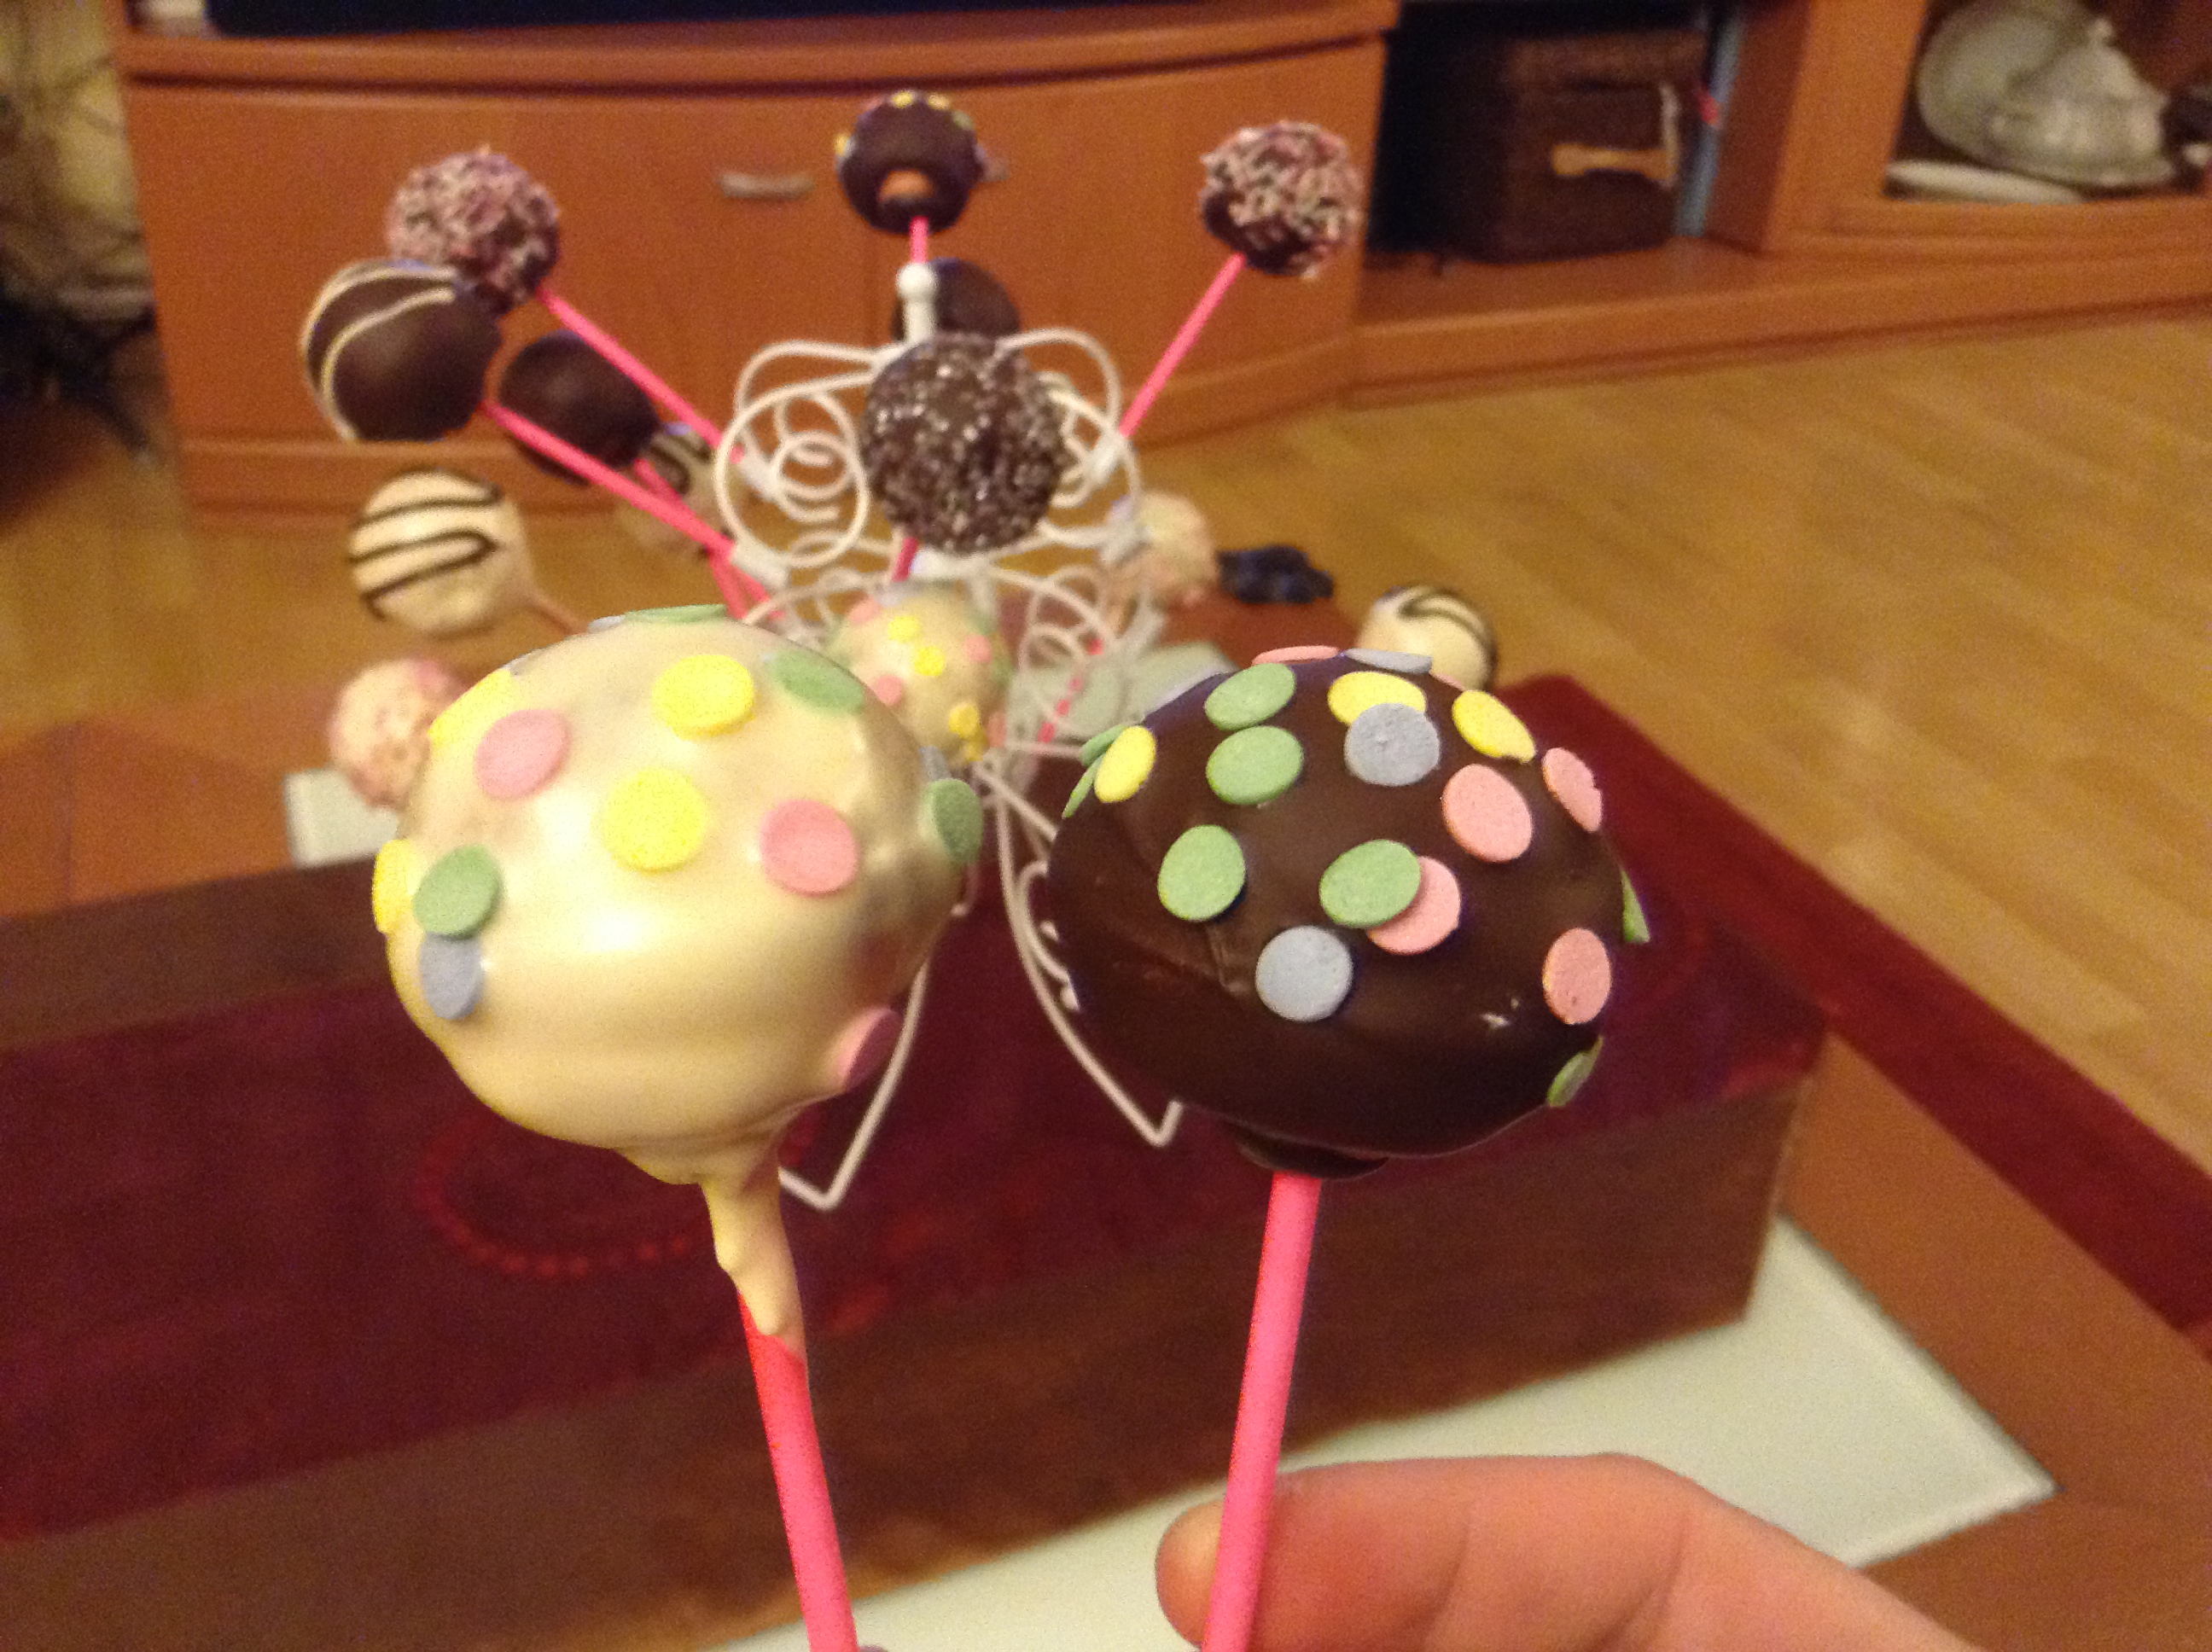
In this case I made them with dark chocolate and melted white chocolate (one tablet of each flavor), to melt the chocolate you can do it in a double boiler or in the microwave.
If you do it in the microwave, you have to heat the chocolate little by little so that it doesn’t get too hot, as this would ruin the chocolate.
Once it’s melted, simply hold it by the stick and completely coat the ball in chocolate, wait for it to stop dripping and then decorate as you like.
To make the chocolate coating easier, I put it in a rather long container so I can put the whole cake pop ball into the chocolate (like a tall glass, for example).
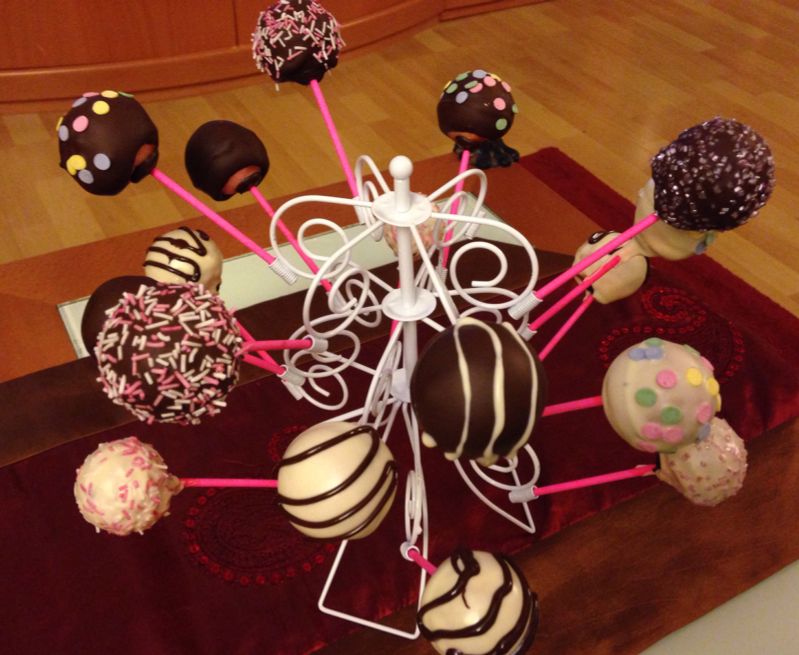
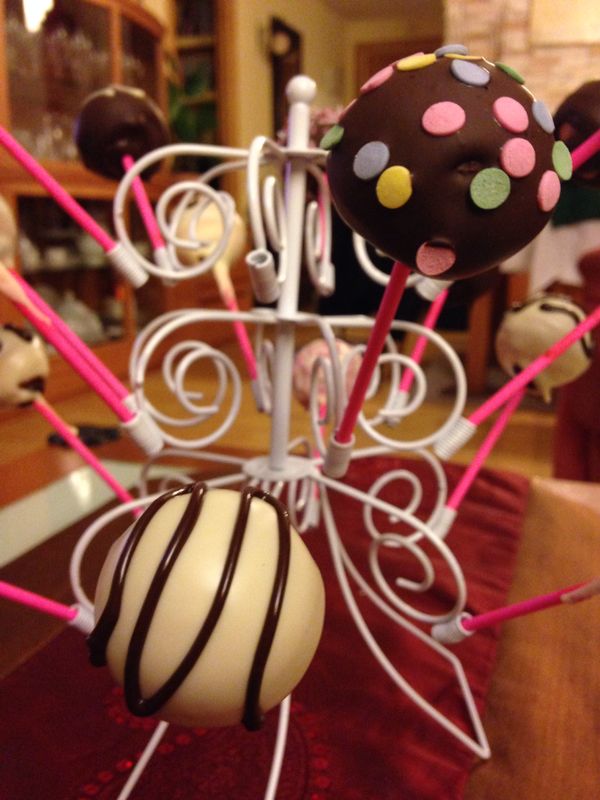
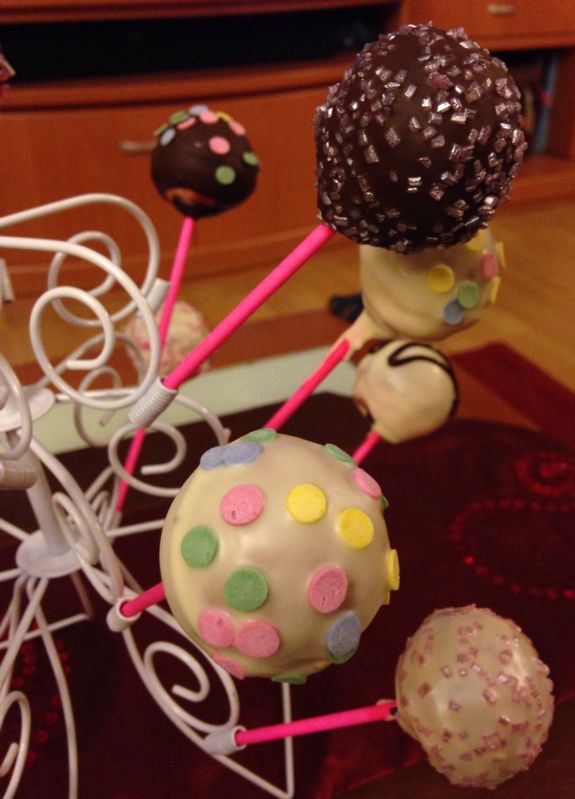
After this, you can place the cake pops stuck into polystyrene foam or on a special cake pop stand , so that they finish drying at room temperature.
If you don’t have a cake pop maker , you can make them by crumbling some leftover cake and adding cream cheese frosting or buttercream by the spoonful, until you can shape it into a ball with your hands and it doesn’t crumble.
Mold the balls and put them in the fridge for at least 2 hours before sticking the stick in; if you don’t do this, the ball will most likely fall off the stick and won’t support the weight.
Once this is done, follow the steps from when you dip the stick in chocolate and insert it into the cake pop .
I hope you liked it, I can assure you that they turn out great and as you’ve seen, very easy to make. Please give them a try, you won’t regret it, especially if you have children; my daughters love them.