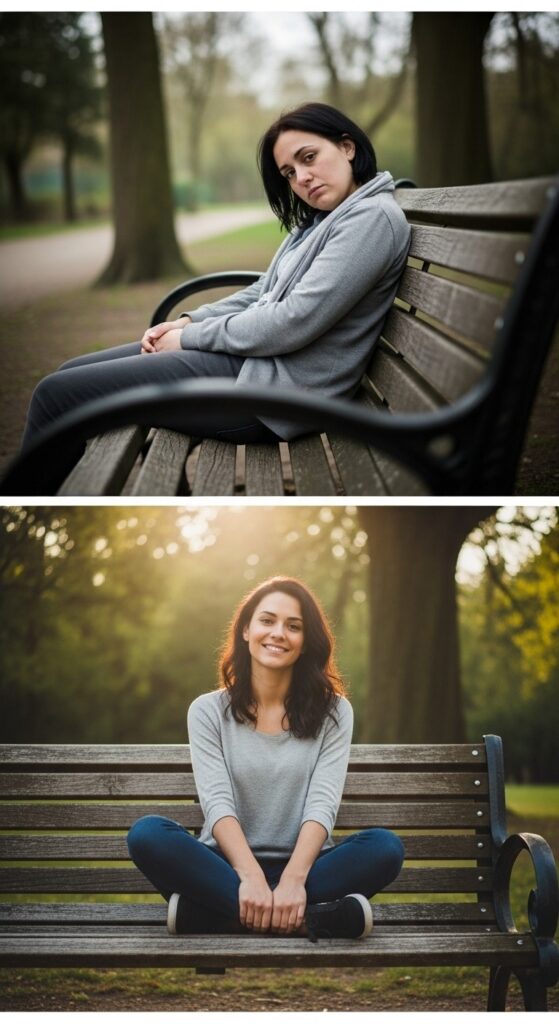
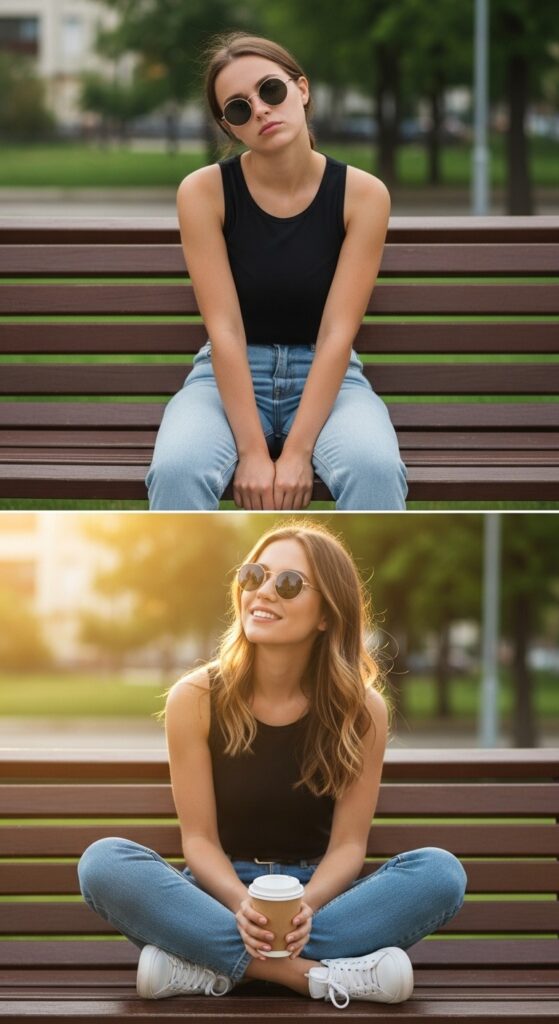
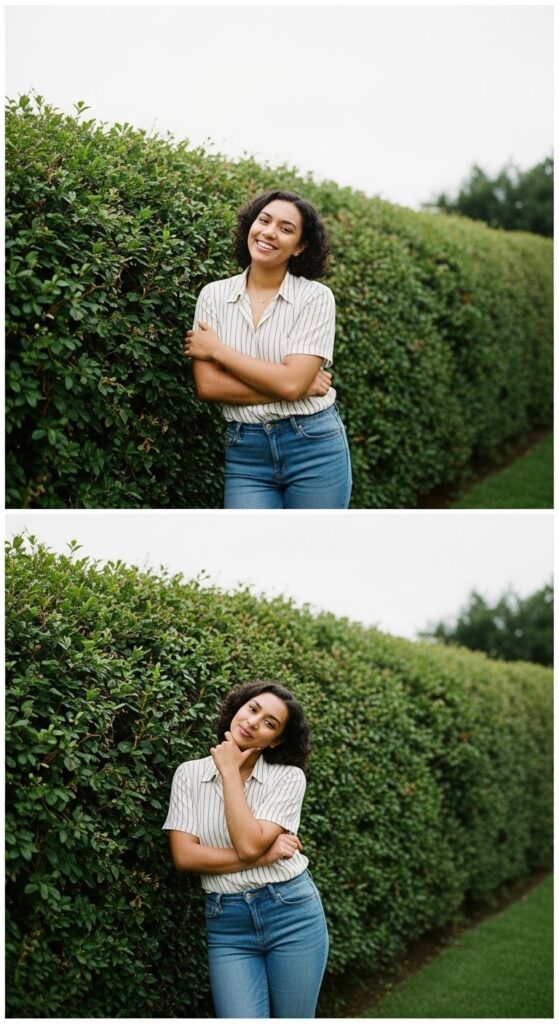
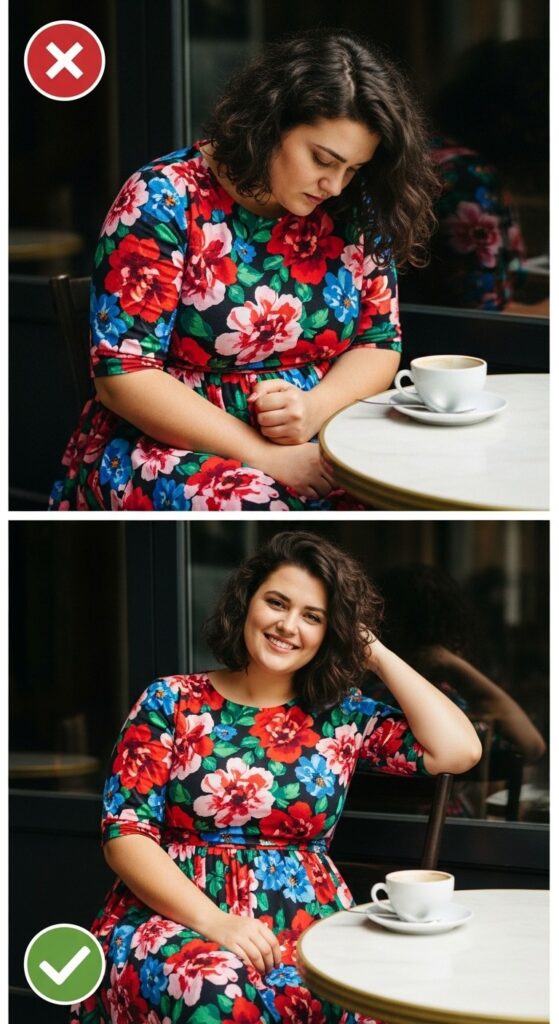
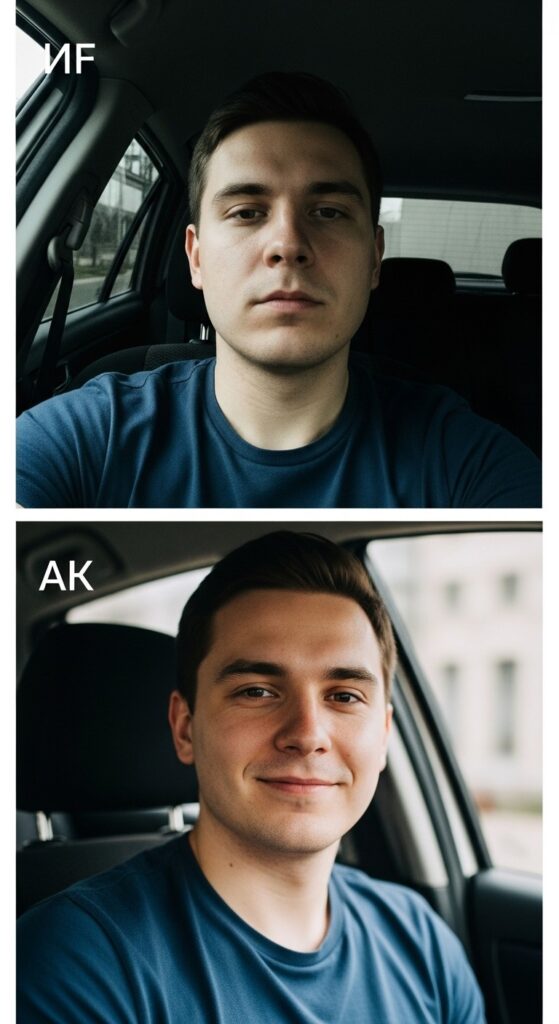
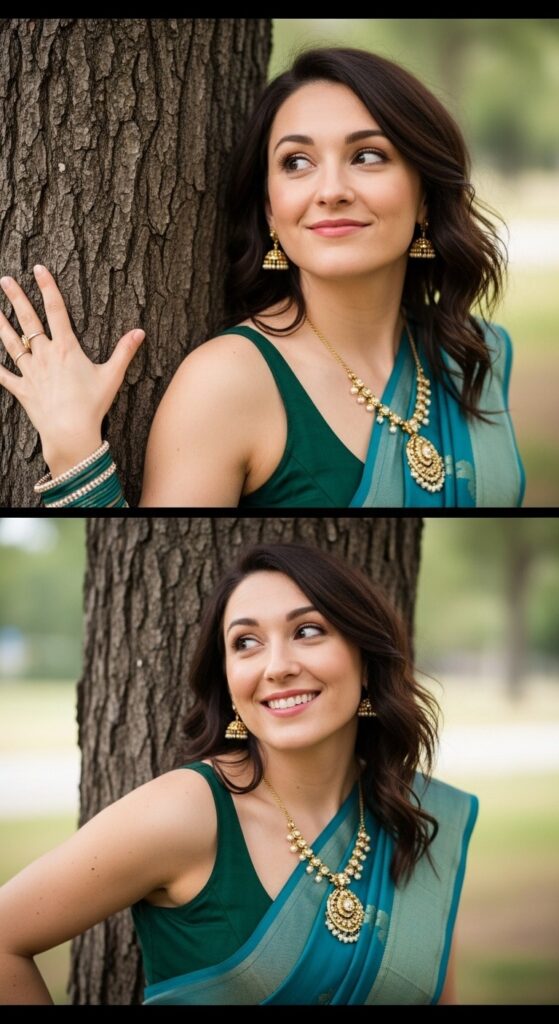
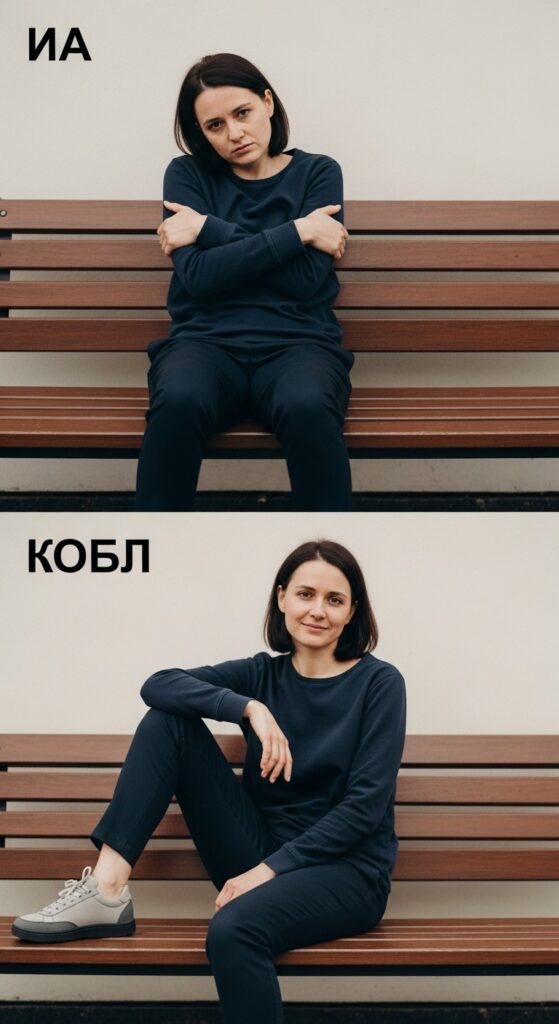
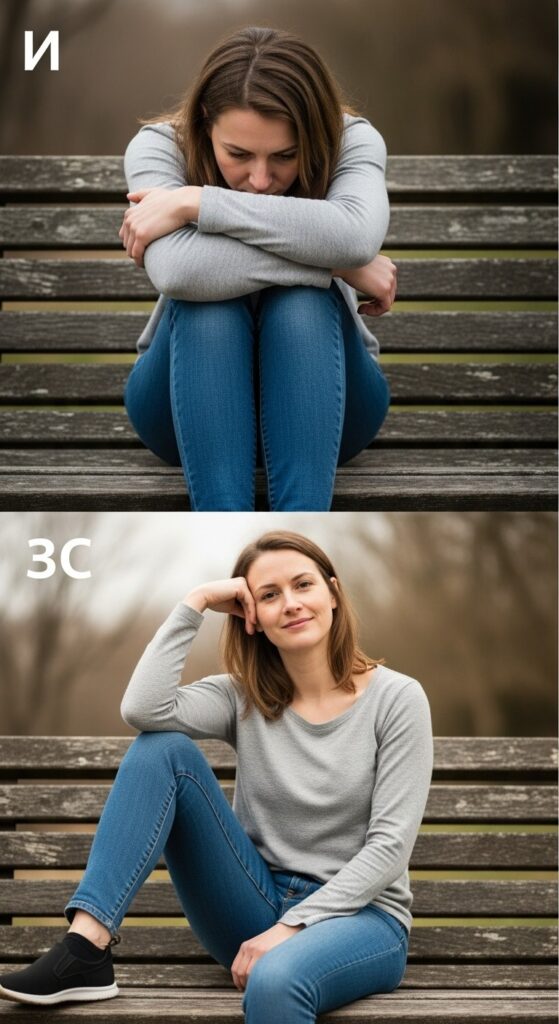
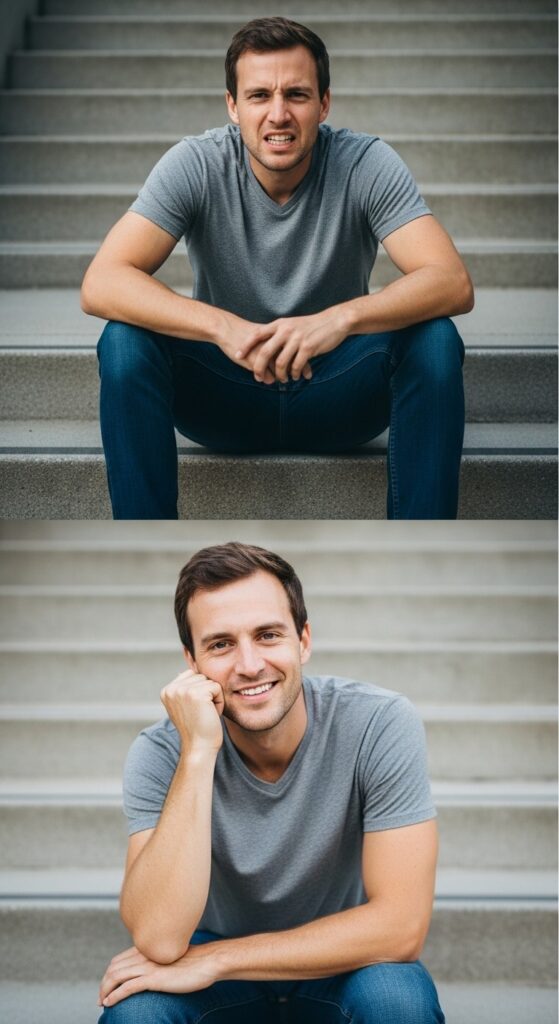
Want to look natural and confident in photos every time? This step-by-step article walks you from prep to posing and gives practical, easy-to-follow tips you can use for selfies, portraits, full-body shots, or group photos.
Quick checklist (do this first)
- Pick your outfit (fits well, contrasts background).
- Check lighting (soft, natural light near a window is friendliest).
- Choose your camera height (eye level or slightly above for portraits).
- Relax your face and shoulders — breathe.
- Decide the mood: playful, serious, candid, or glam.
Step-by-step posing routine
Step 1 — Stand taller than you feel
Straighten your spine, roll your shoulders back and down, and lift your chest slightly. Good posture instantly gives a stronger silhouette.
Step 2 — Weight on one leg
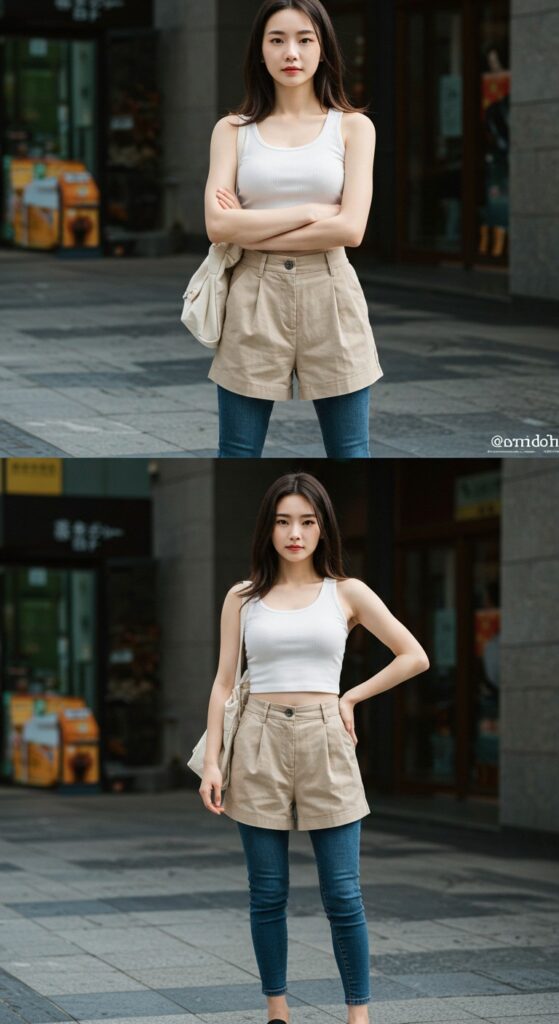
Shift your weight to the back leg (about 60–70%). This creates a natural S-curve in your body — hips and shoulders tilt slightly for a flattering line.
Step 3 — Angle your body
Turn your body 10–30° away from the camera rather than facing it straight on. This is slimmer and adds depth. For full-body shots, angle hips and shoulders in opposite directions (shoulders slightly toward camera, hips turned away).
Step 4 — Position your chin and jaw
Drop your chin a tiny bit (think “push your face forward then lower the chin”) — this avoids a double-chin and defines the jawline. Slightly tilt the head left or right for personality.
Step 5 — Find your best smile or expression
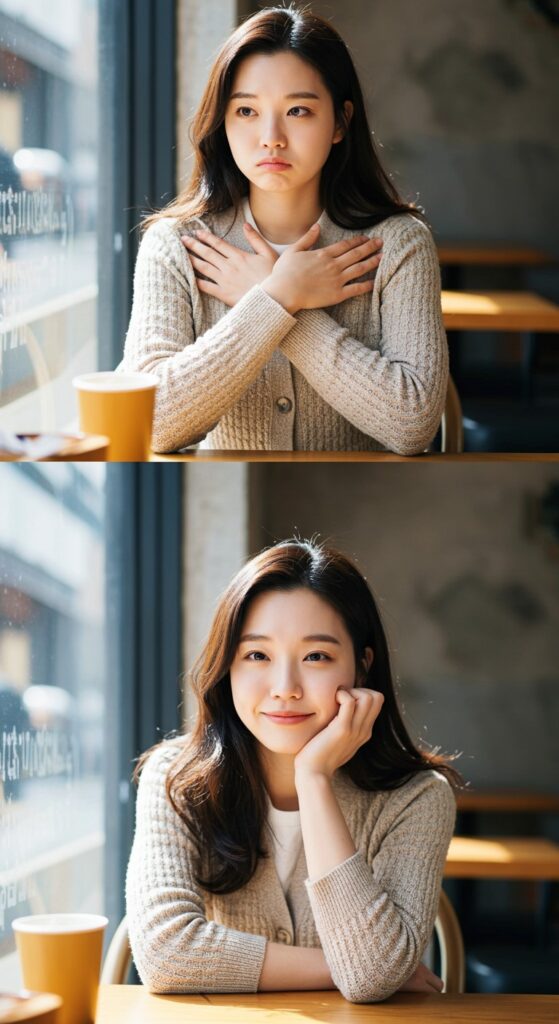
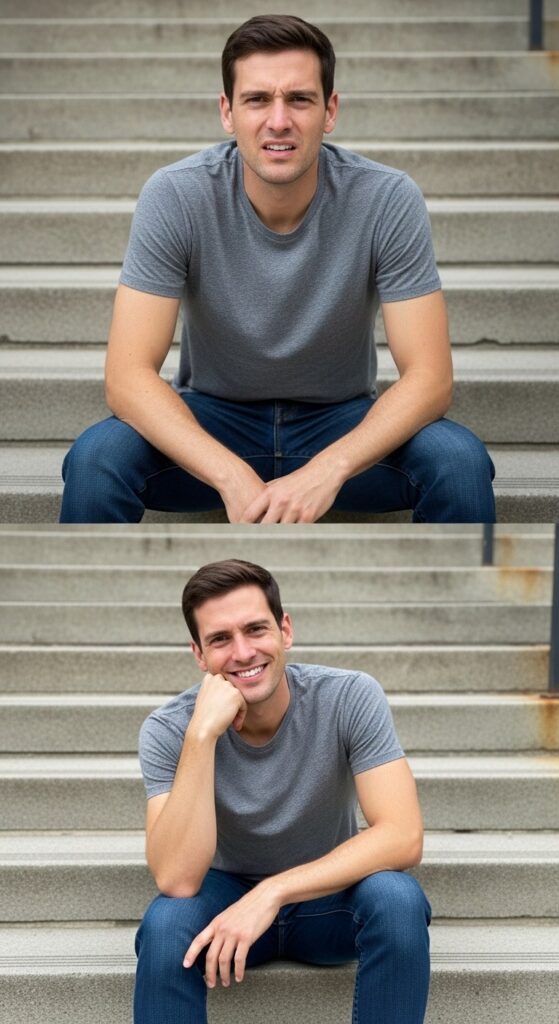
Practice three faces: a bright smile (teeth showing), a softer closed-lipped smile, and a neutral/sexy smize (smiling with the eyes). Relax the forehead — tension shows quickly.
Step 6 — Use your hands (stop the awkwardness)
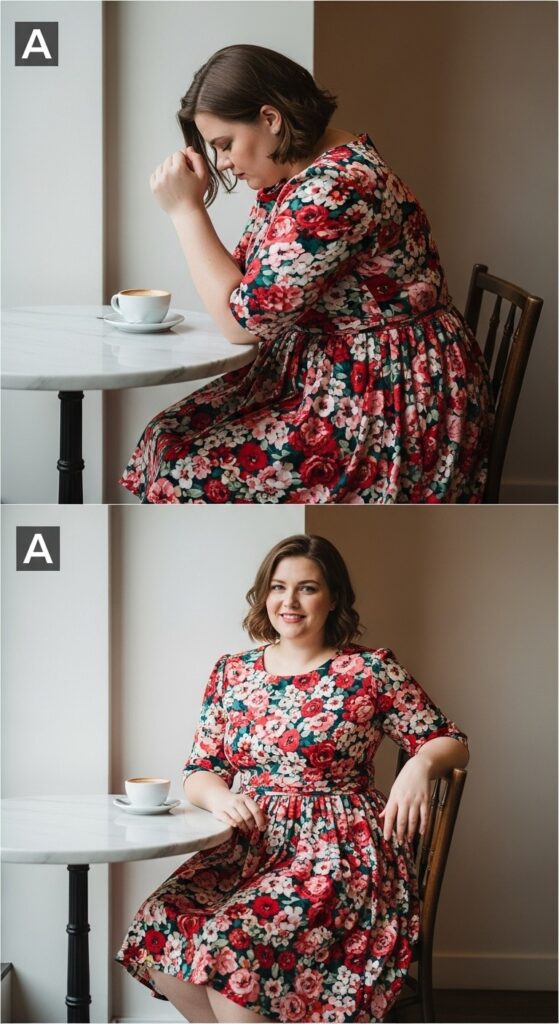
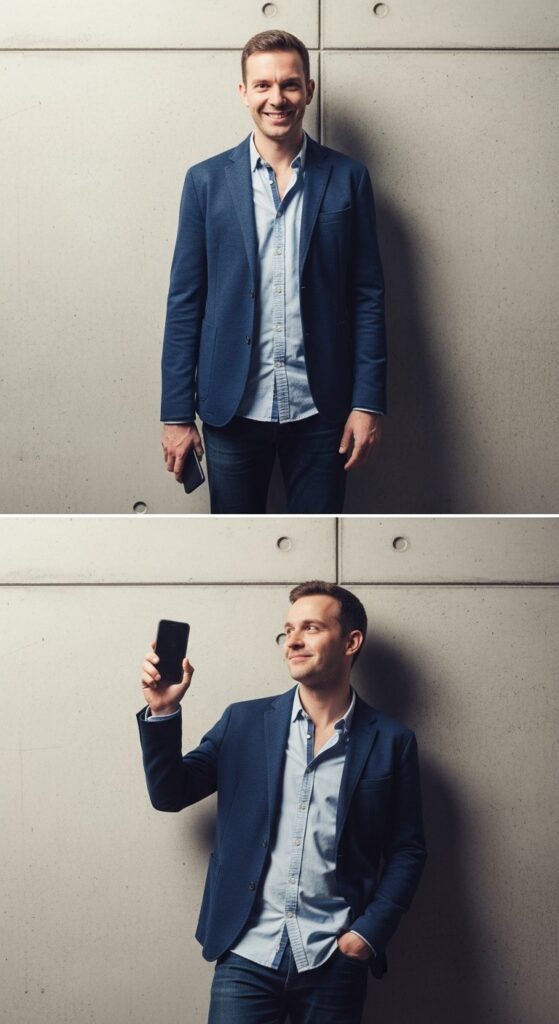
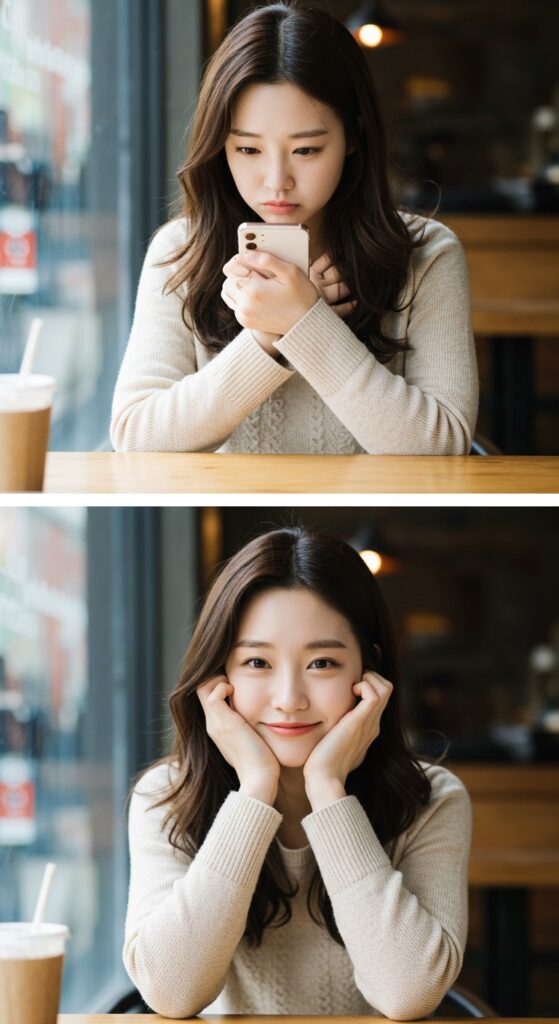
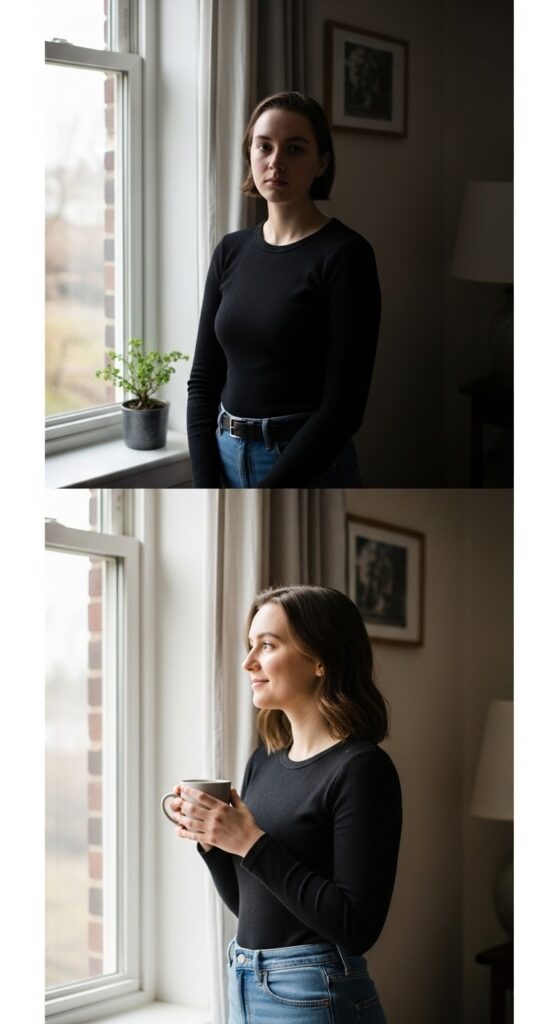
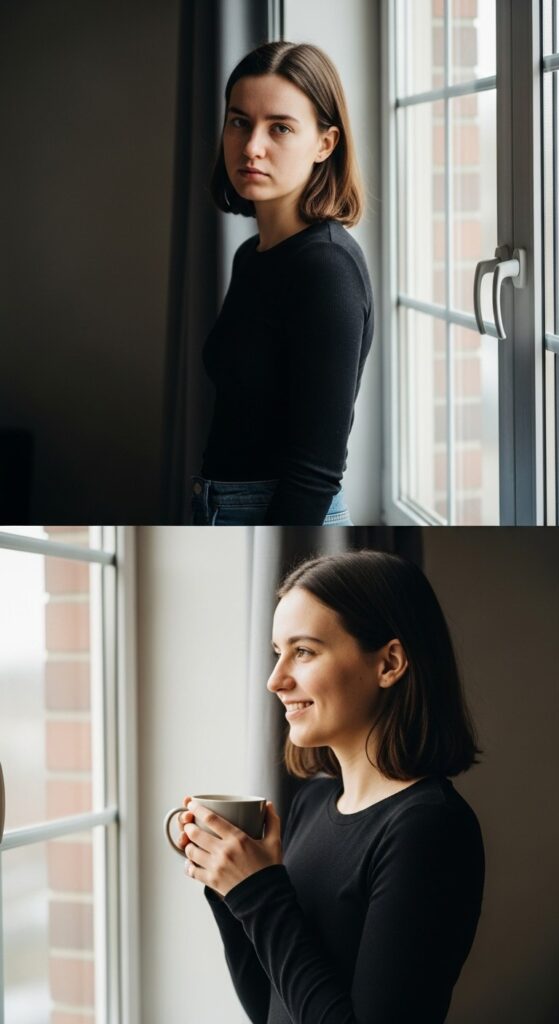
Avoid flat, lifeless hands. Place one hand on your hip, lightly touch your neck, brush hair back, hold a prop (coffee, jacket), or let fingers graze your thigh. Keep fingers relaxed — think “soft” not “claw.”
Step 7 — Create movement
Slight motion looks natural: walk slowly toward the camera, toss your hair, shift your weight, or spin the skirt. Take continuous shots while moving — you’ll capture candid magic.
Step 8 — Mind the legs and feet
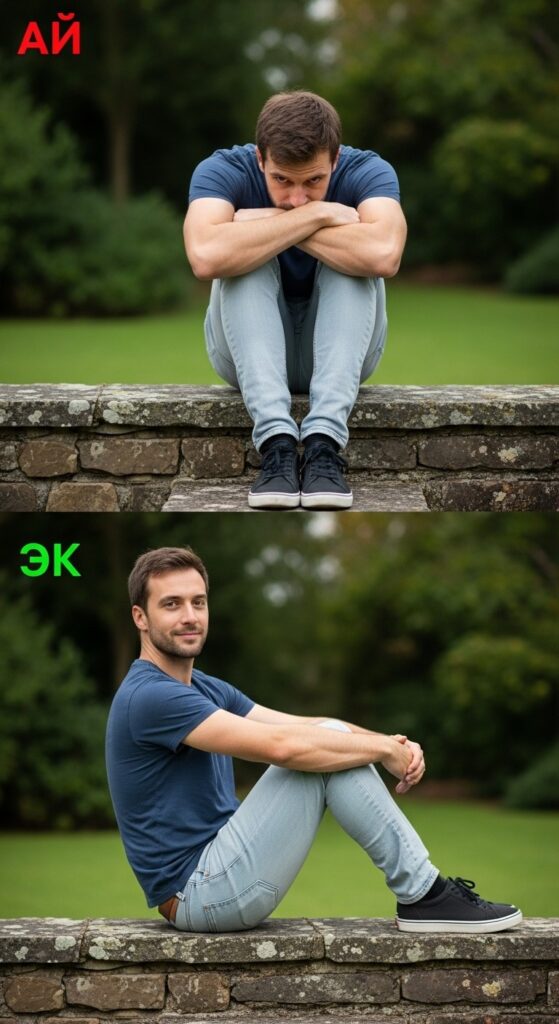
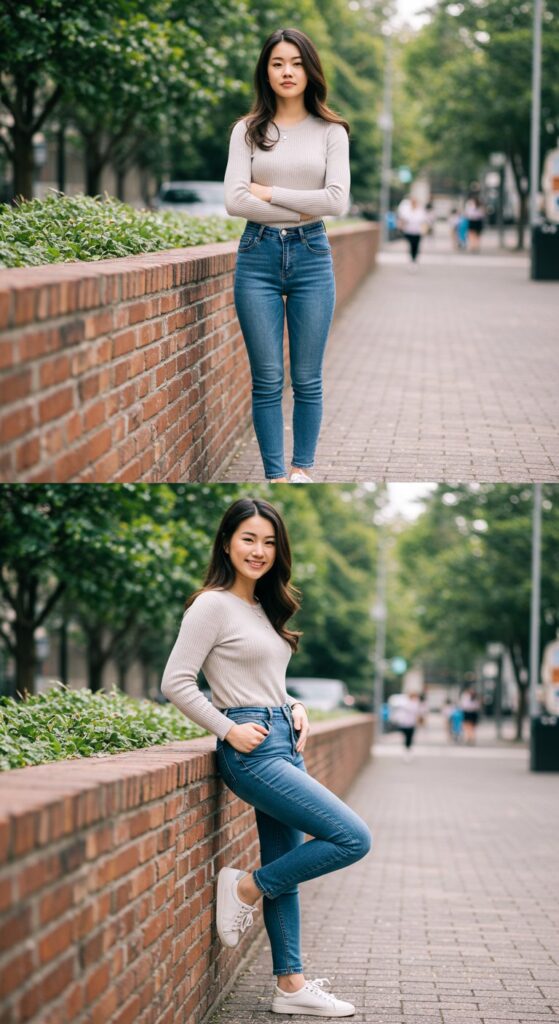
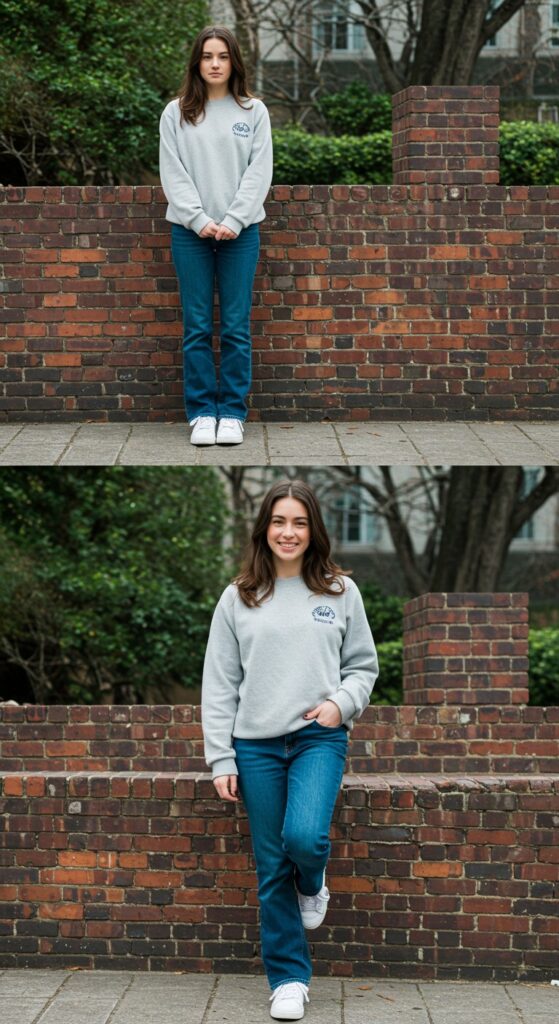
For standing shots, put the front foot pointed slightly toward the camera and bend that knee a bit. For seated poses, cross ankles and keep knees together or slightly apart depending on the vibe.
Step 9 — Use the camera angle to your advantage
- Camera slightly above eye level = slimming and flattering for most faces.
- Eye level = natural/truthful.
- Below eye level = bold and dramatic (use with caution).
Step 10 — Work with light and shadow
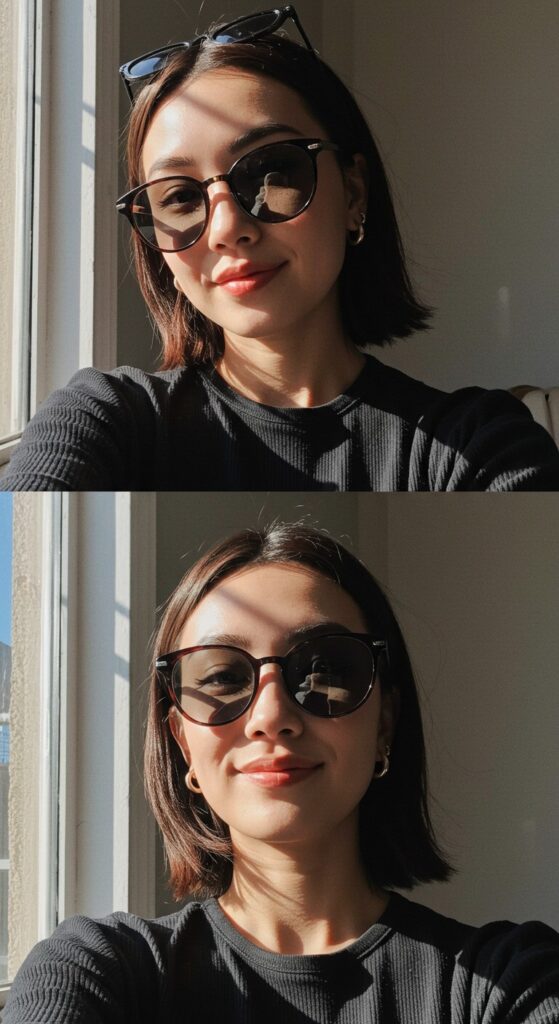
Face the light (soft window light is ideal) for even skin tone. Side light adds drama and texture. Backlight creates a glowing rim — try placing light behind you and exposing for the face.
Step 11 — Try three variations each pose
For every pose you try: do a serious, smiling, and candid variation. One of them will usually feel right. Small changes (tilt head, move hand) make a big difference.
Step 12 — Review and refine
Look at the camera preview quickly: adjust posture, lower shoulders, fix stray hairs, and try again. Aim for subtle changes rather than completely different positions.
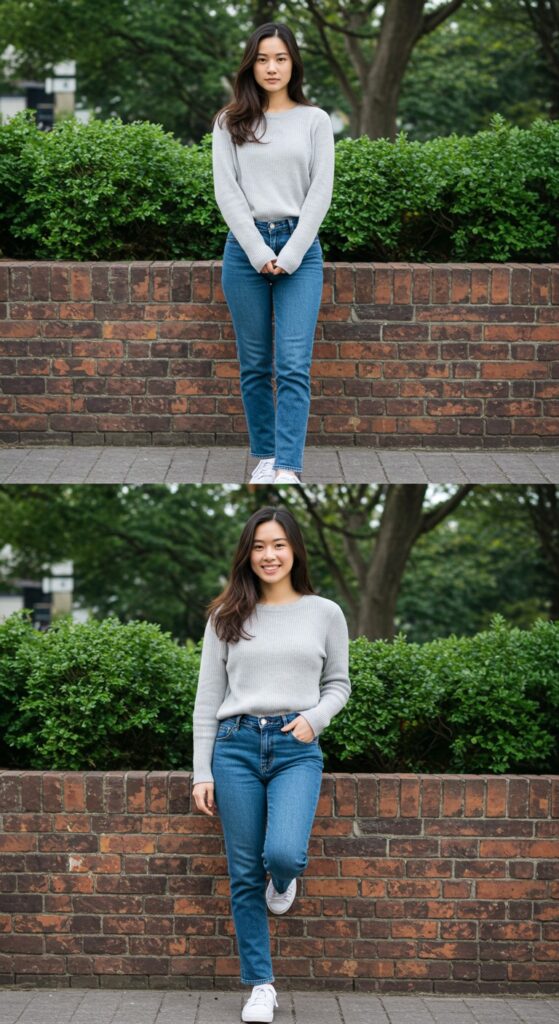
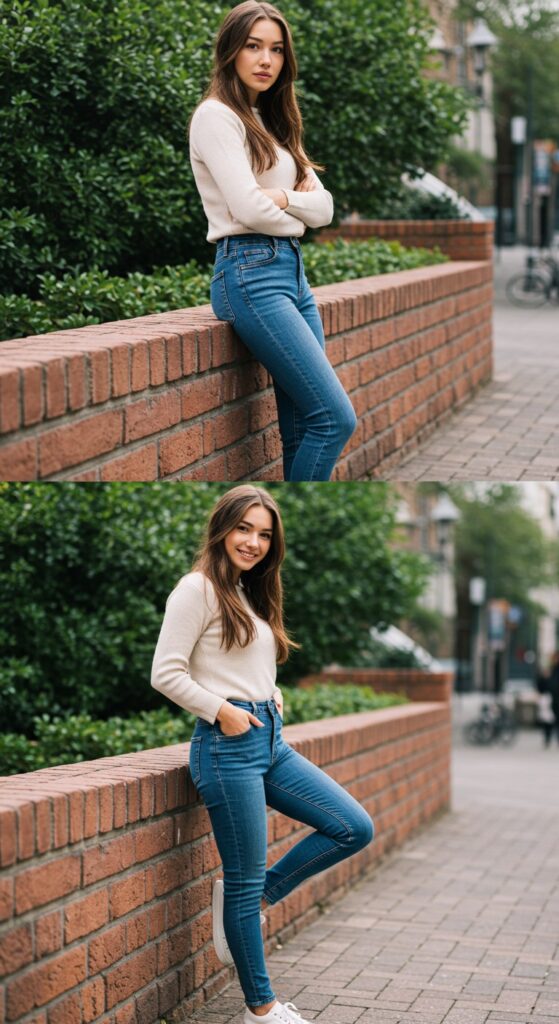
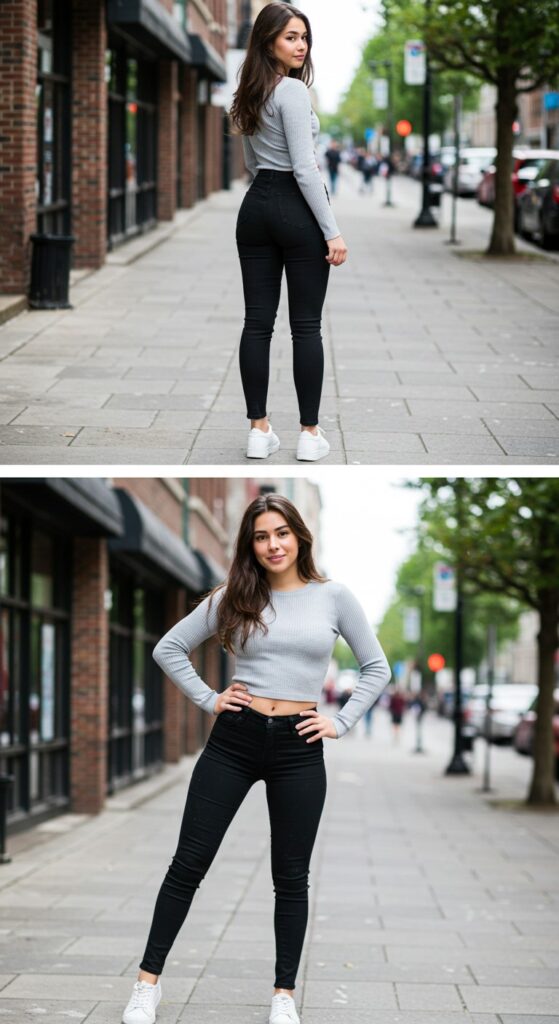
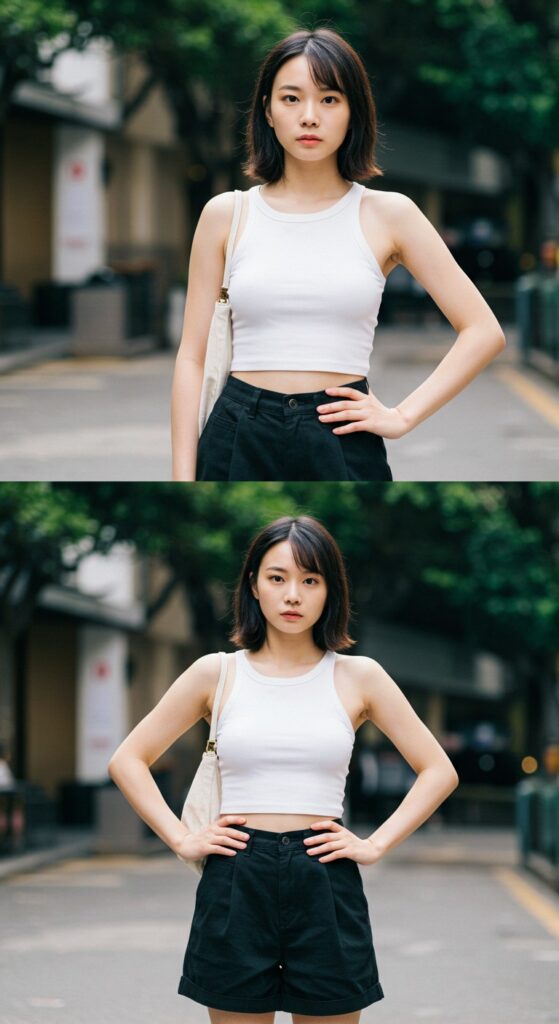
Here are some popular poses for Pictures:
Face & eye tips (short and useful)
- Relax your forehead; breathe out before each shot to soften expression.
- “Smize” by slightly squinting the eyes — it reads as genuine emotion.
- Think of a tiny, specific memory (not “be happy”) to produce a natural smile.
- Use lip parting: slightly parting lips makes the smile look effortless.
Hands & arm micro-moves
- Keep elbows slightly away from your body to create space.
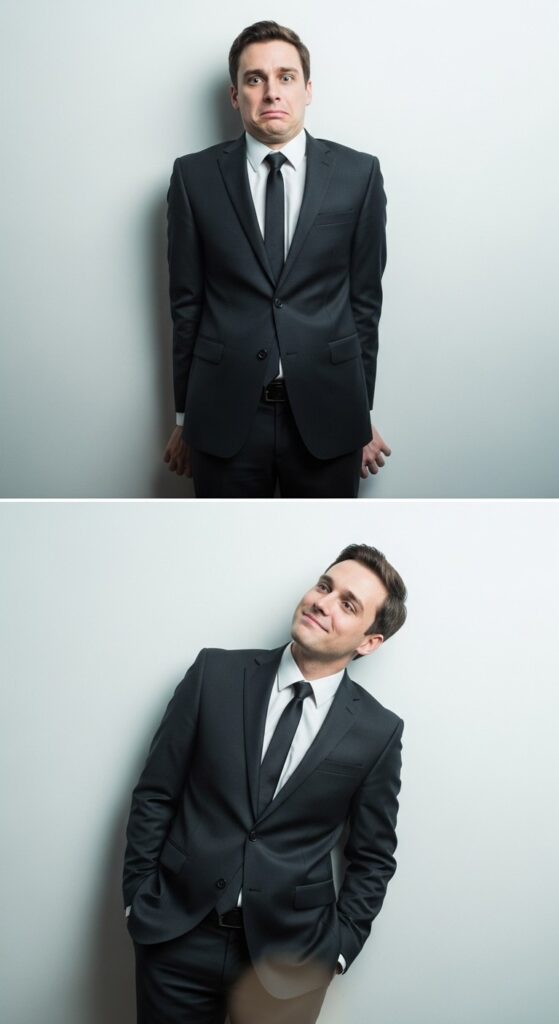
- Place one hand on a pocket, belt, or hip to look natural.
- If both hands show, let one be active (holding something) and the other relaxed.
Poses you can use right now
- The S-curve: weight back leg, front leg slightly bent, one hand in hair.
- The Walk: small steps toward camera, look off to one side.
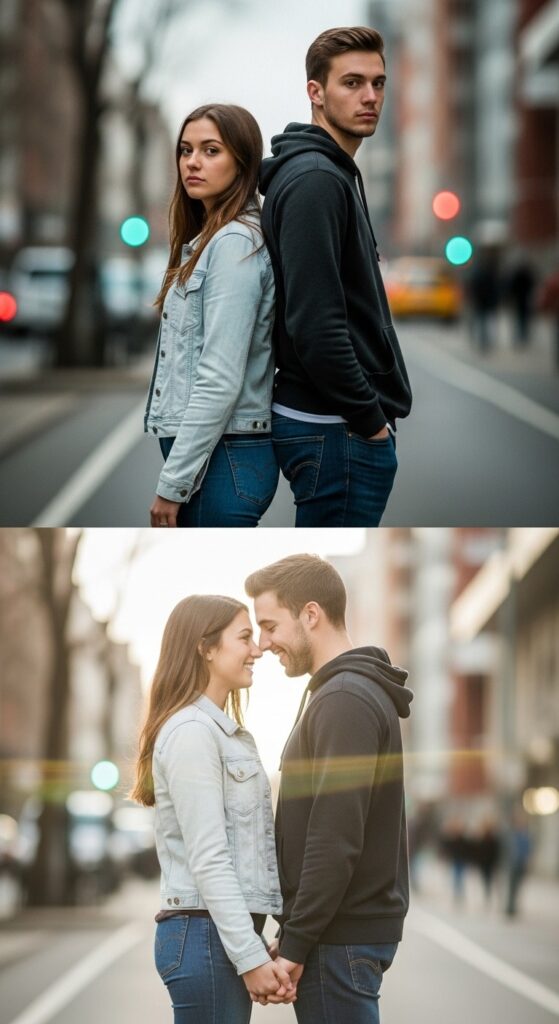
- The Lean: lean on a wall with shoulder touching; cross ankles.
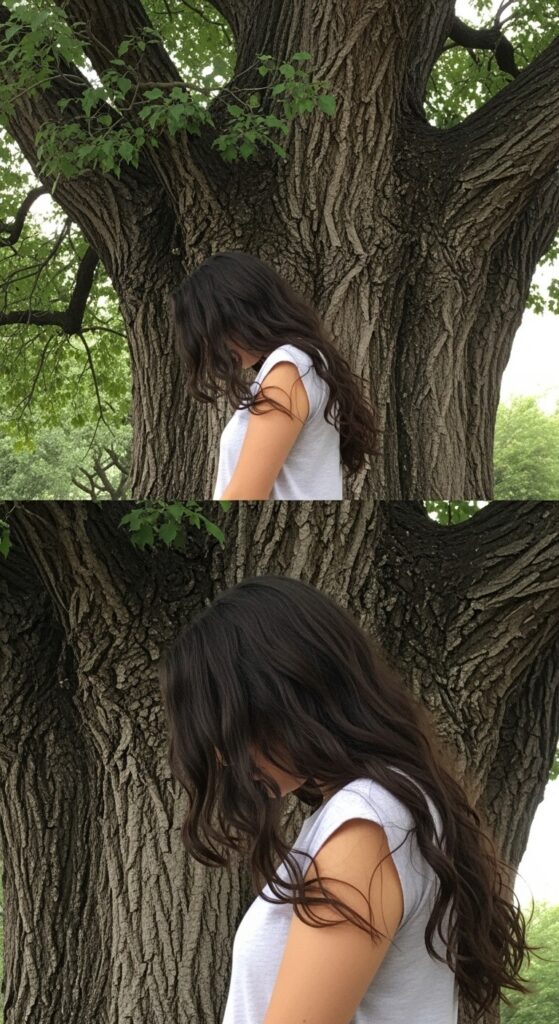
- Over-the-shoulder: look back toward the camera—great for hair shots.
- Seated elegance: sit near edge of chair, lean forward slightly, hands on knees/one on chin.
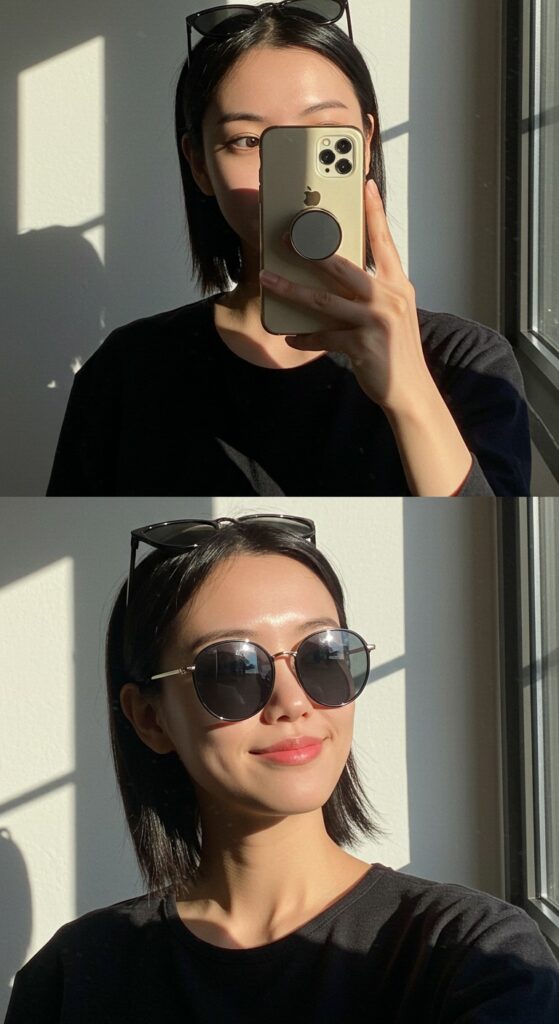
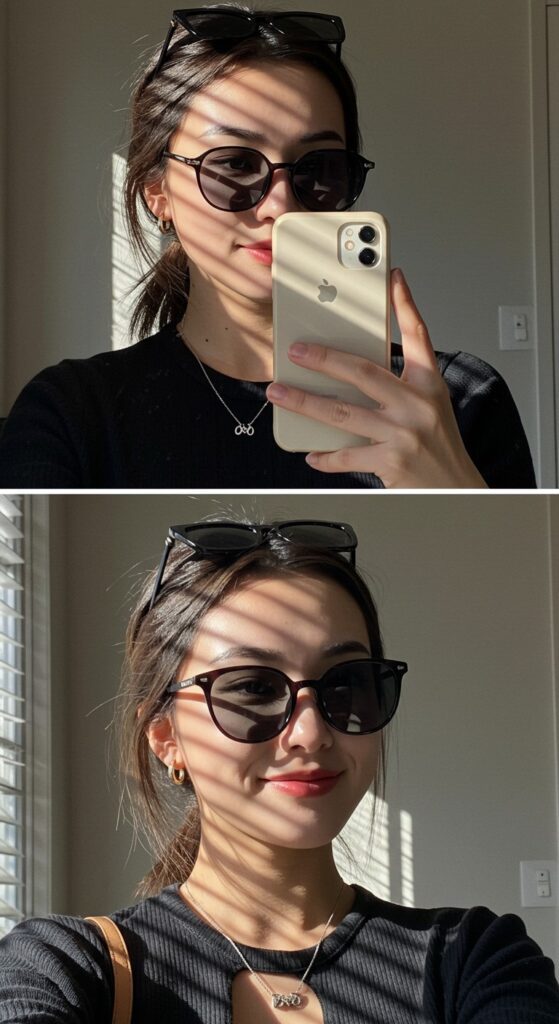
Selfies & mirror shots
- Hold phone slightly above eye level.
- Extend arm fully and lean the opposite shoulder forward to slim the face.
- Use a small tilt of the head and experiment with close crop vs. more background.
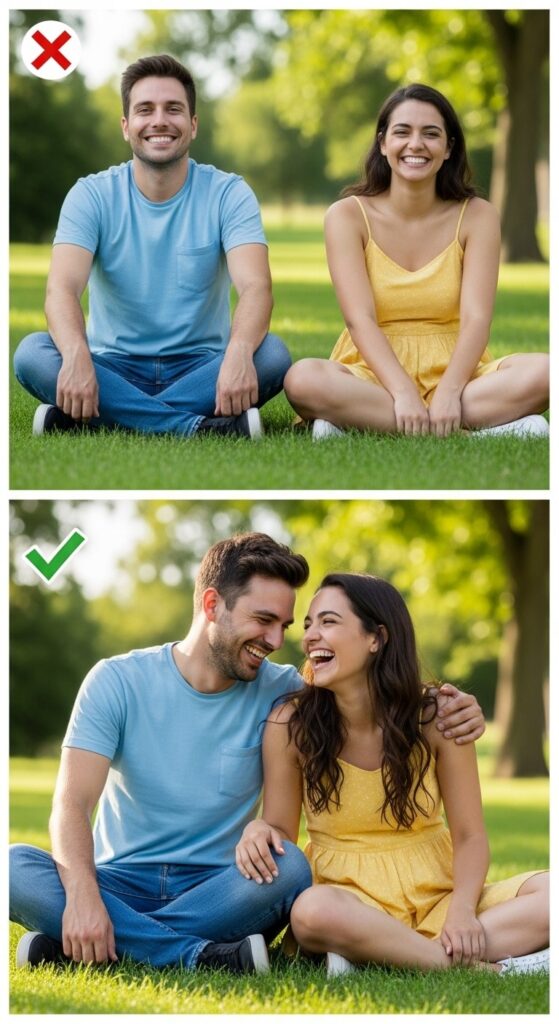
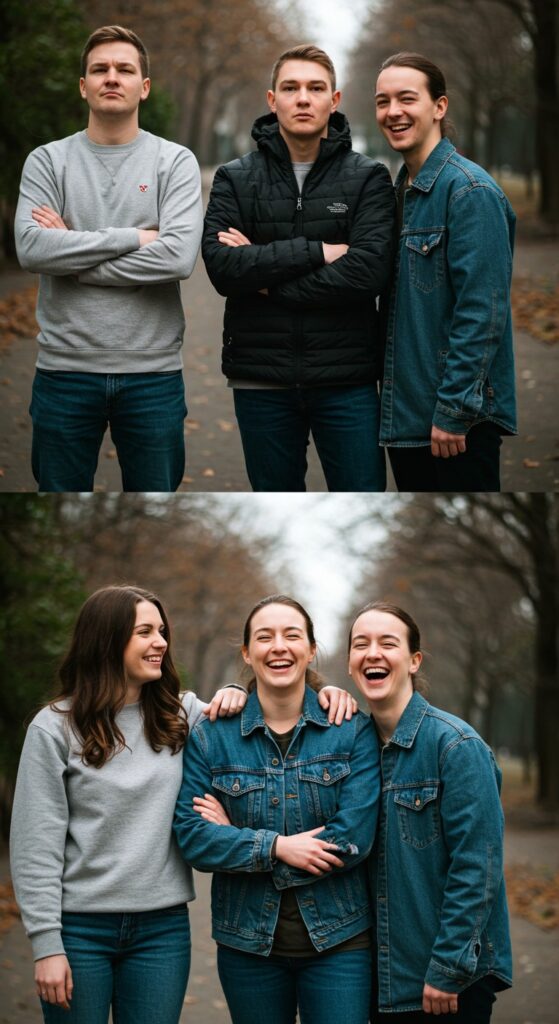
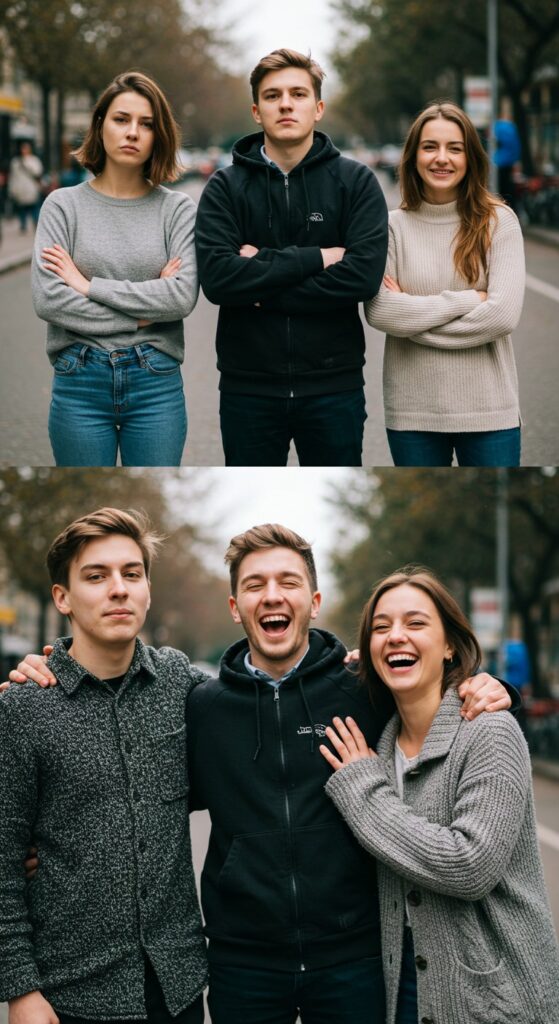
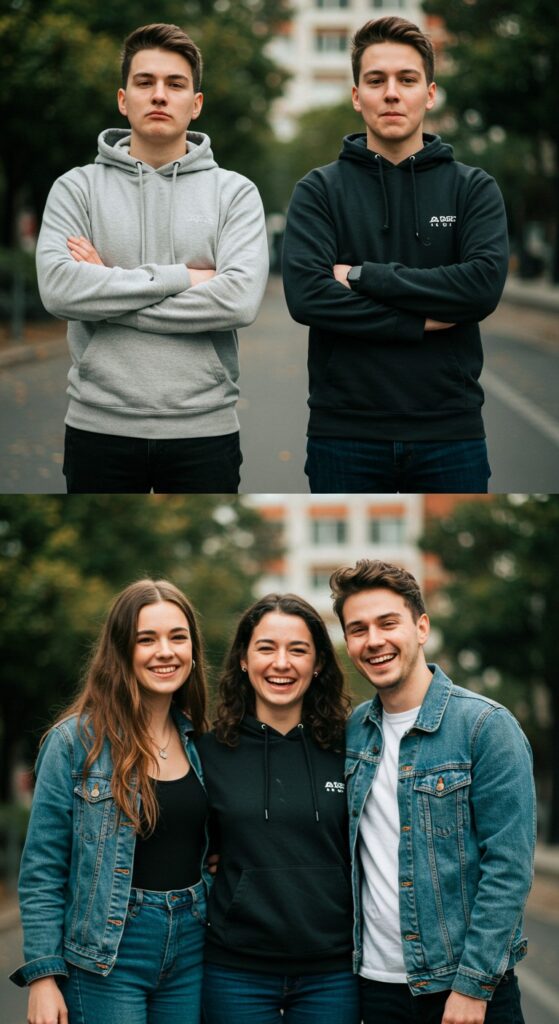
Group photos (how to not look awkward)
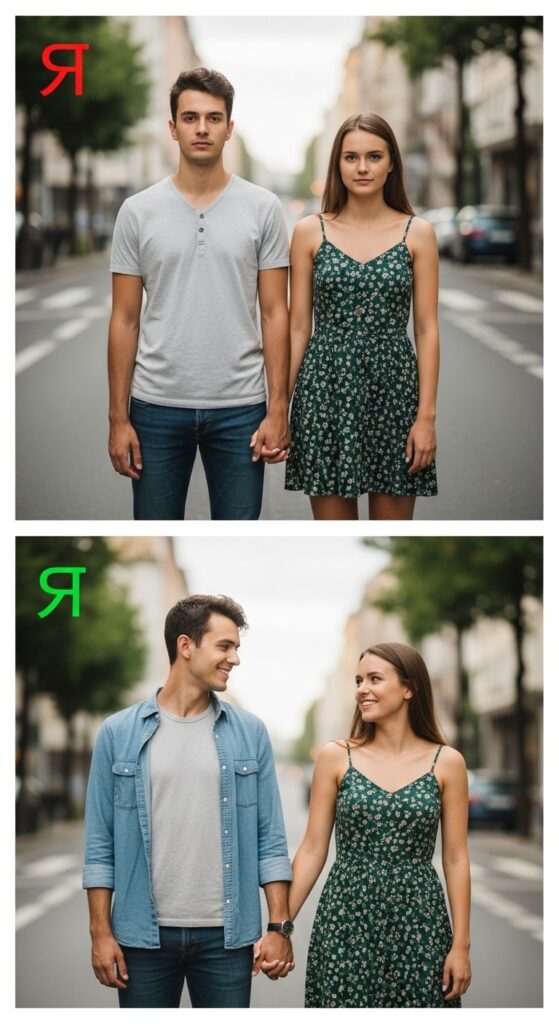
- Stand in a staggered line: some people slightly forward, some back.
- Angle bodies toward the center of the group.
- Use different heights (sit, stand on step) to create visual interest.
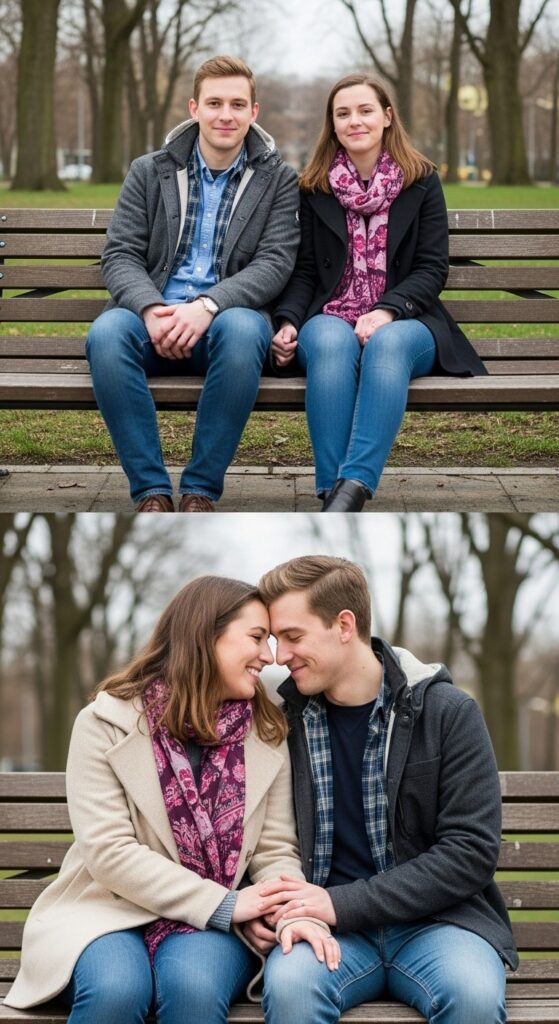
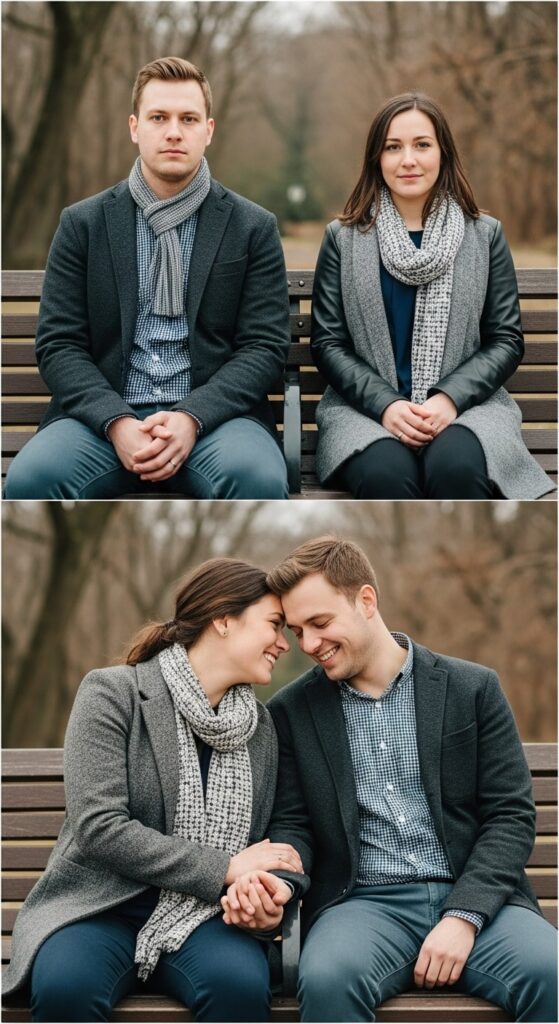
- Interact! Put arms around shoulders, laugh, or whisper — candid moments rule.
Quick styling and camera hacks
- Avoid tiny busy patterns; solid colors or simple textures photograph better.
- Bring a spare top or jacket — small outfit changes can transform a shoot.
- Use continuous shooter/burst mode when moving.
- Use portrait mode or a shallow aperture (f/1.8–f/2.8) for soft background blur.
Mini FAQ
Q: I always look stiff — how to fix it?
A: Keep breathing, move between shots, and imagine you’re talking to a friend — it relaxes you.
Q: What if I hate my double chin?
A: Push your face slightly forward and down the tiniest bit, elongating the neck.
Q: How many photos should I take?
A: Take lots — aim for 20–50 in a short session; you only need a few keepers.
Final tip (the confidence trick)
The best photos come when you forget the camera exists. Play music, joke with the photographer, and move — confidence is the most flattering accessory.
